

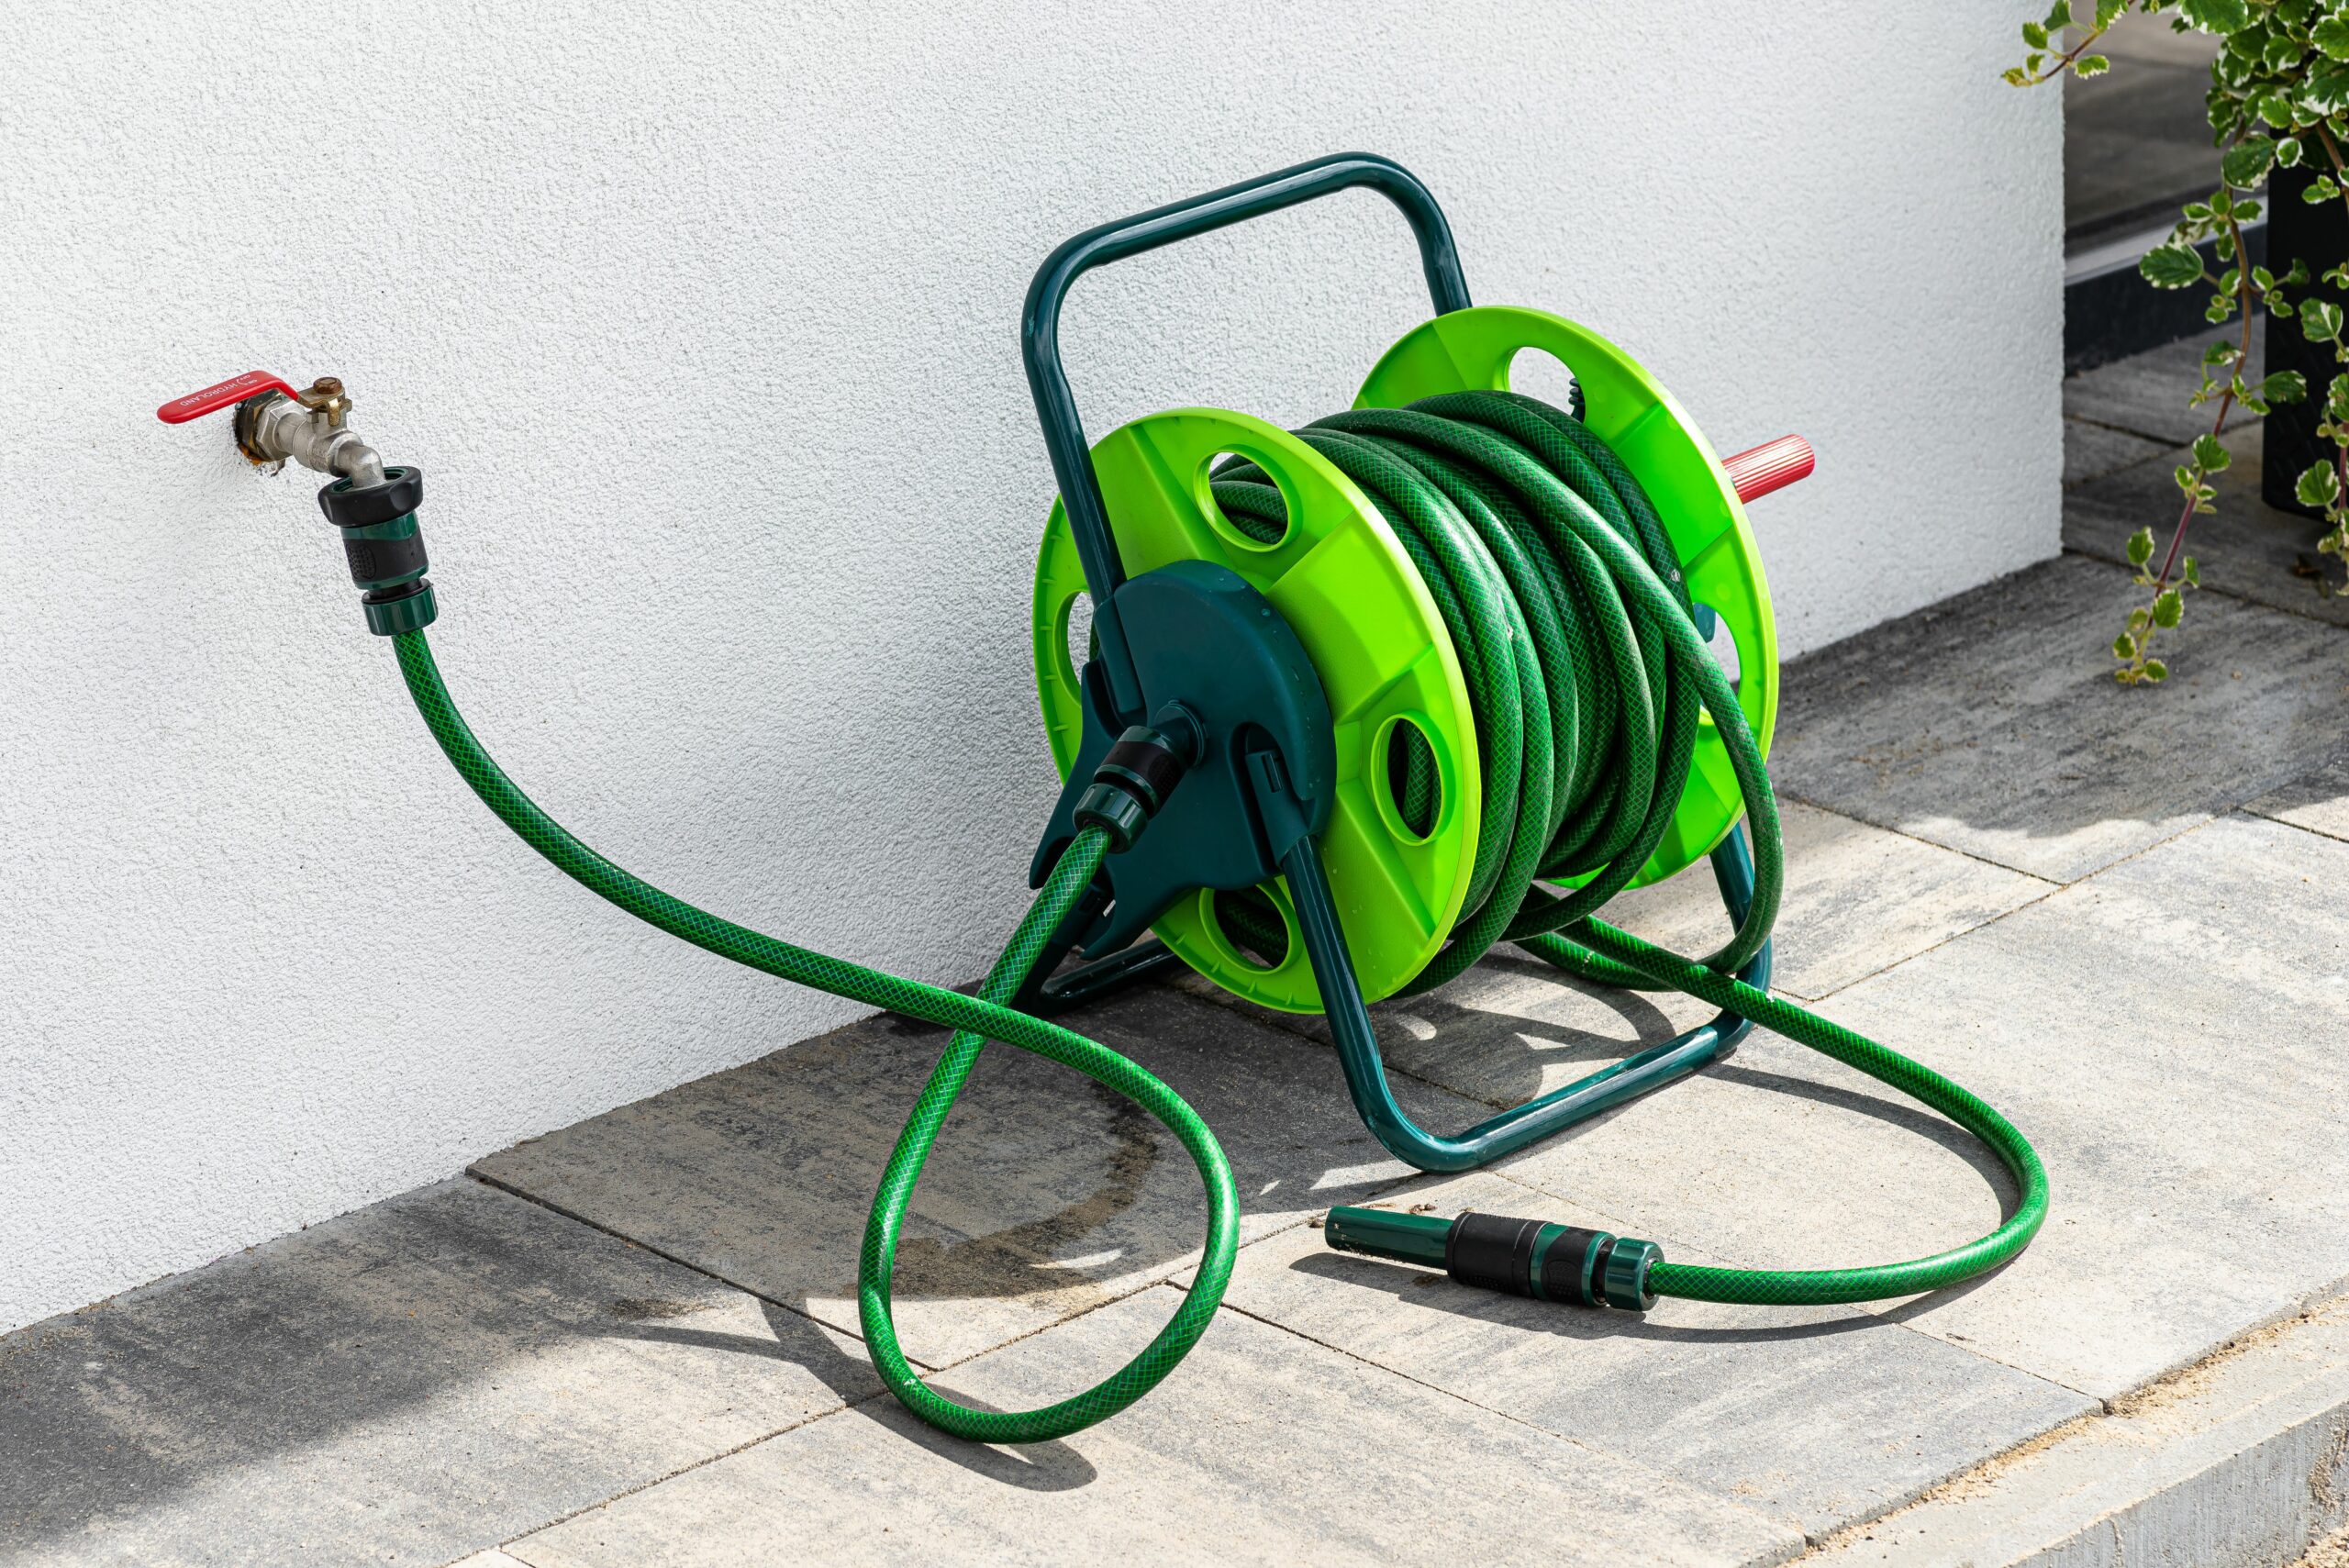
A garden hose has many uses around the home, including watering the lawn, filling the pool, washing the car, and spraying down siding. However, when you take a hose out of storage after a long winter, it may have developed a leak, become kinked, or the hose connector could be damaged. Some problems are relatively easy to assess and fix, while others take more time and effort to repair. Depending on the extent of the damage, a replacement may be the best option, but if the hose seems salvageable, use these 5 must-know garden hose repairs to resolve the problem.
1. Seal Pinhole Leaks with Rubber Cement
A pinhole leak is one of the more common problems that homeowners encounter. While this type of leak doesn’t cause many issues, it wastes water and can cause the user to get wet when they prefer to stay dry. Ultimately, pinhole leaks are minor problems that can be patched relatively easily.
Start by drying the garden hose as much as possible. If the leak is located near one of the two ends, try to dry off the inside of the hose as well. Once the hose is dry, apply rubber cement to and around the hole, filling in the hole as much as possible without forcing excess rubber cement into the hose. Give the rubber cement time to dry and set. Then, connect the hose and turn on the water to test that the fix worked.
Quick Fix: If you want a quick patch that will do the job until you can set aside time for a more permanent repair, you can also fix pinhole leaks with electrical tape. Dry off the garden hose and wrap the tape around the hose to cover and seal the pinhole leak. Just keep in mind that tape is a temporary fix.
2. Patch Large Tears with a Hose Mender Kit
When the hose has large holes or tears, a simple rubber cement seal won’t hold. Instead, DIYers need to purchase a hose mender kit to fix the garden hose. A hose mender is essentially a short plastic or metal tube or union that connects two pieces of garden hose. To patch large tears, use a hose cutter or a utility knife to cut the garden hose on either side of the damaged area.
Work slowly and carefully to ensure the cuts are as straight as possible. Attach the cut ends of the hose to the hose mender connectors. The hose mender kit should come with collars or compression fittings to secure the hose mender connectors to the hose. Read and follow the directions provided by the manufacturer to determine how to tighten the connections.
Typically, the hose mender slides into both of the cut ends of the hose; then, collars or adjustable brackets are used on either end to secure the connection. The fittings are tightened with screws to prevent the hose from leaking or becoming disconnected. After attaching the hose mender, connect the hose and turn on the water to check for leaks.
3. Fix Coupling Leaks by Replacing the Hose Gasket
Even if the hose body is in good condition, leaks can form at the coupling connectors. Minor leaks from the hose couplings are often caused by a worn, damaged, or missing hose gasket. Similarly, some hose accessories, like a spray nozzle adaptor, may have gaskets that go missing or are damaged over the years, so it’s a good idea to inspect these tools before each use.
Replacing a hose gasket or the gasket for a hose accessory is relatively easy. Turn off the water, disconnect the leaky end of the hose, and then use your fingers or a set of needle-nose pliers to pull out the old gasket. Slide the new gasket into the hose, ensuring it sits flat inside the coupling. Reconnect the hose and turn on the water to confirm that the fix worked.
4. Remove and Replace Damaged Couplings
While the gasket can cause the hose to leak at the coupling, this isn’t the only problem that can affect the connectors for the hose. In some cases, the end of a hose will be stepped on, run over, or otherwise damaged during use. If this occurs, the coupling may no longer be able to connect. Even if it can connect, there is a risk that the threads are damaged or misshapen, which can cause the coupling to leak.
Fixing a damaged coupling takes about as much effort as patching a large tear in the hose. The DIYer must buy a male or female hose repair kit, depending on which end of the hose is damaged. With the kit in hand, use a utility knife to make a straight, clean cut to sever the damaged end of the hose. Slide the exposed end of the hose into the repair kit coupling and then tighten the collar to secure the replacement coupling to the hose. Reconnect the hose and turn on the water to verify that the coupling replacement was a success.
5. Make a Splint to Correct a Kinked Garden Hose
A kink in a garden hose refers to a part of the hose that has become bent or deformed primarily due to improper winding and storage, though some hoses may develop a kink as a result of being stepped on or driven across. A kink in a garden hose has a thin, oblong shape, and when the hose is pulled, it can fold over itself at this kinked point, cutting off the flow of water.
Completely eliminating a kink is only possible by cutting out the damaged section and patching the hose with a hose mender. However, if you don’t want to cut and patch the hose, you can create a splint to correct the kinked area of the garden hose. Cut a small, short piece of PVC pipe that can slide over the hose.
Ideally, the pipe should be large enough to slide over the hose but small enough to prevent the kinked area from folding over or kinking when the hose is in use. If done correctly, the splint will form a physical barrier that prevents the hose from flattening out to the sides, forcibly keeping the hose straight and ensuring a consistent flow of water through the affected area.