

Project Overview
-
Working Time:
20 hours
-
Total Time:
1 day, 12 hours
-
Skill Level:
Intermediate
-
Estimated Cost:
$800 to $1,000
It may be time for a change when your home’s floors look worn out due to fraying carpet fibers, stains, scratched hardwood, or discolored tiles. New carpet is an excellent option that not only looks great and feels good underfoot but also acts as an insulating layer to reduce the flow of heat and sound through the floor.
Carpet comes in a huge assortment of colors and designs. A crew of professionals can install the new carpet for a price, but DIYers who have the time, tools, and skills can save money and gain a sense of pride in the design of their homes by learning how to install carpet.
Before You Start
Proper protective gear, including knee pads, work gloves, a mask or respirator, safety glasses, and closed-toe shoes, is essential to prevent accidental injury during a carpet installation project. Since you need to be in an unfamiliar posture for long periods while you work, take regular breaks to stretch or switch jobs occasionally with a second person.
Additionally, DIYers need to measure the room where they will install the carpet. Proper measurements are key for the success of this job. Measure the length and width of the room, and add 2 to 4 inches to each measurement. The idea is to have more material than necessary so that if there are any mistakes in measuring or cutting, the extra material should make up for it.
Instructions
How to Install Carpet
-
Prepare the Area
If you haven’t already, remove any existing carpet or flooring. With the subfloor exposed, use a broom and vacuum to get rid of any leftover dust and debris. If any doors open into the room, remove them until after the installation is complete.
Typically, if you have old wall-to-wall carpeting, you can leave the baseboards in place, but if you are installing carpet in a room that previously had hardwood, you might need to remove and reinstall the baseboards after installing the carpet to ensure they sit at the proper height on the walls.
-
Install the Carpet Tack Strip
Take measurements around the perimeter of the room, and then use a small hand saw or a carpet tack strip cutter to cut the tack strips to the appropriate sizes. Position the strips so that the tack points face the walls, and each strip butts up against the next, end to end.
Tack strips should wrap around door frames but should not be placed across the doorway. Leave a small gap between the tack strips and the wall, about two-thirds the thickness of the carpet. When you are ready, nail the tack strips to the wooden subfloor. If you are installing the tack strips over concrete, use masonry tacks or an epoxy adhesive to secure them.
-
Install Carpet Padding
Measure and cut the carpet padding to fit the room. Note that the carpet padding should not extend over the tack strips, so it will be slightly smaller than the actual carpet. Use a utility knife to cut through the carpet padding. Then, use a staple gun to fasten the carpet padding along the edge of the tack strip.
Use duct tape to tape neighboring pieces of carpet padding together along the seams. After securing the perimeter of the carpet padding, use the staple gun to fasten the carpet at the seams, alternating the position of the staples so that they are not directly beside each other.
If you are installing the padding over concrete, use a manufacturer-recommended adhesive to secure the padding to the concrete floor.
-
Measure and Cut the Carpet
Take careful measurements before cutting the carpet. Add 4 to 6 inches to the measurements to ensure that you have enough material to make corrections if there are any errors in the measurements or when cutting.
Unroll enough carpet to measure and cut a suitable size piece. Notch the back of the carpet with a utility knife, and use a straight edge or a chalk line to mark the area where you will cut. Position the carpet over a flat piece of scrap wood, and use the utility knife or a carpet cutter to cut along the line.
-
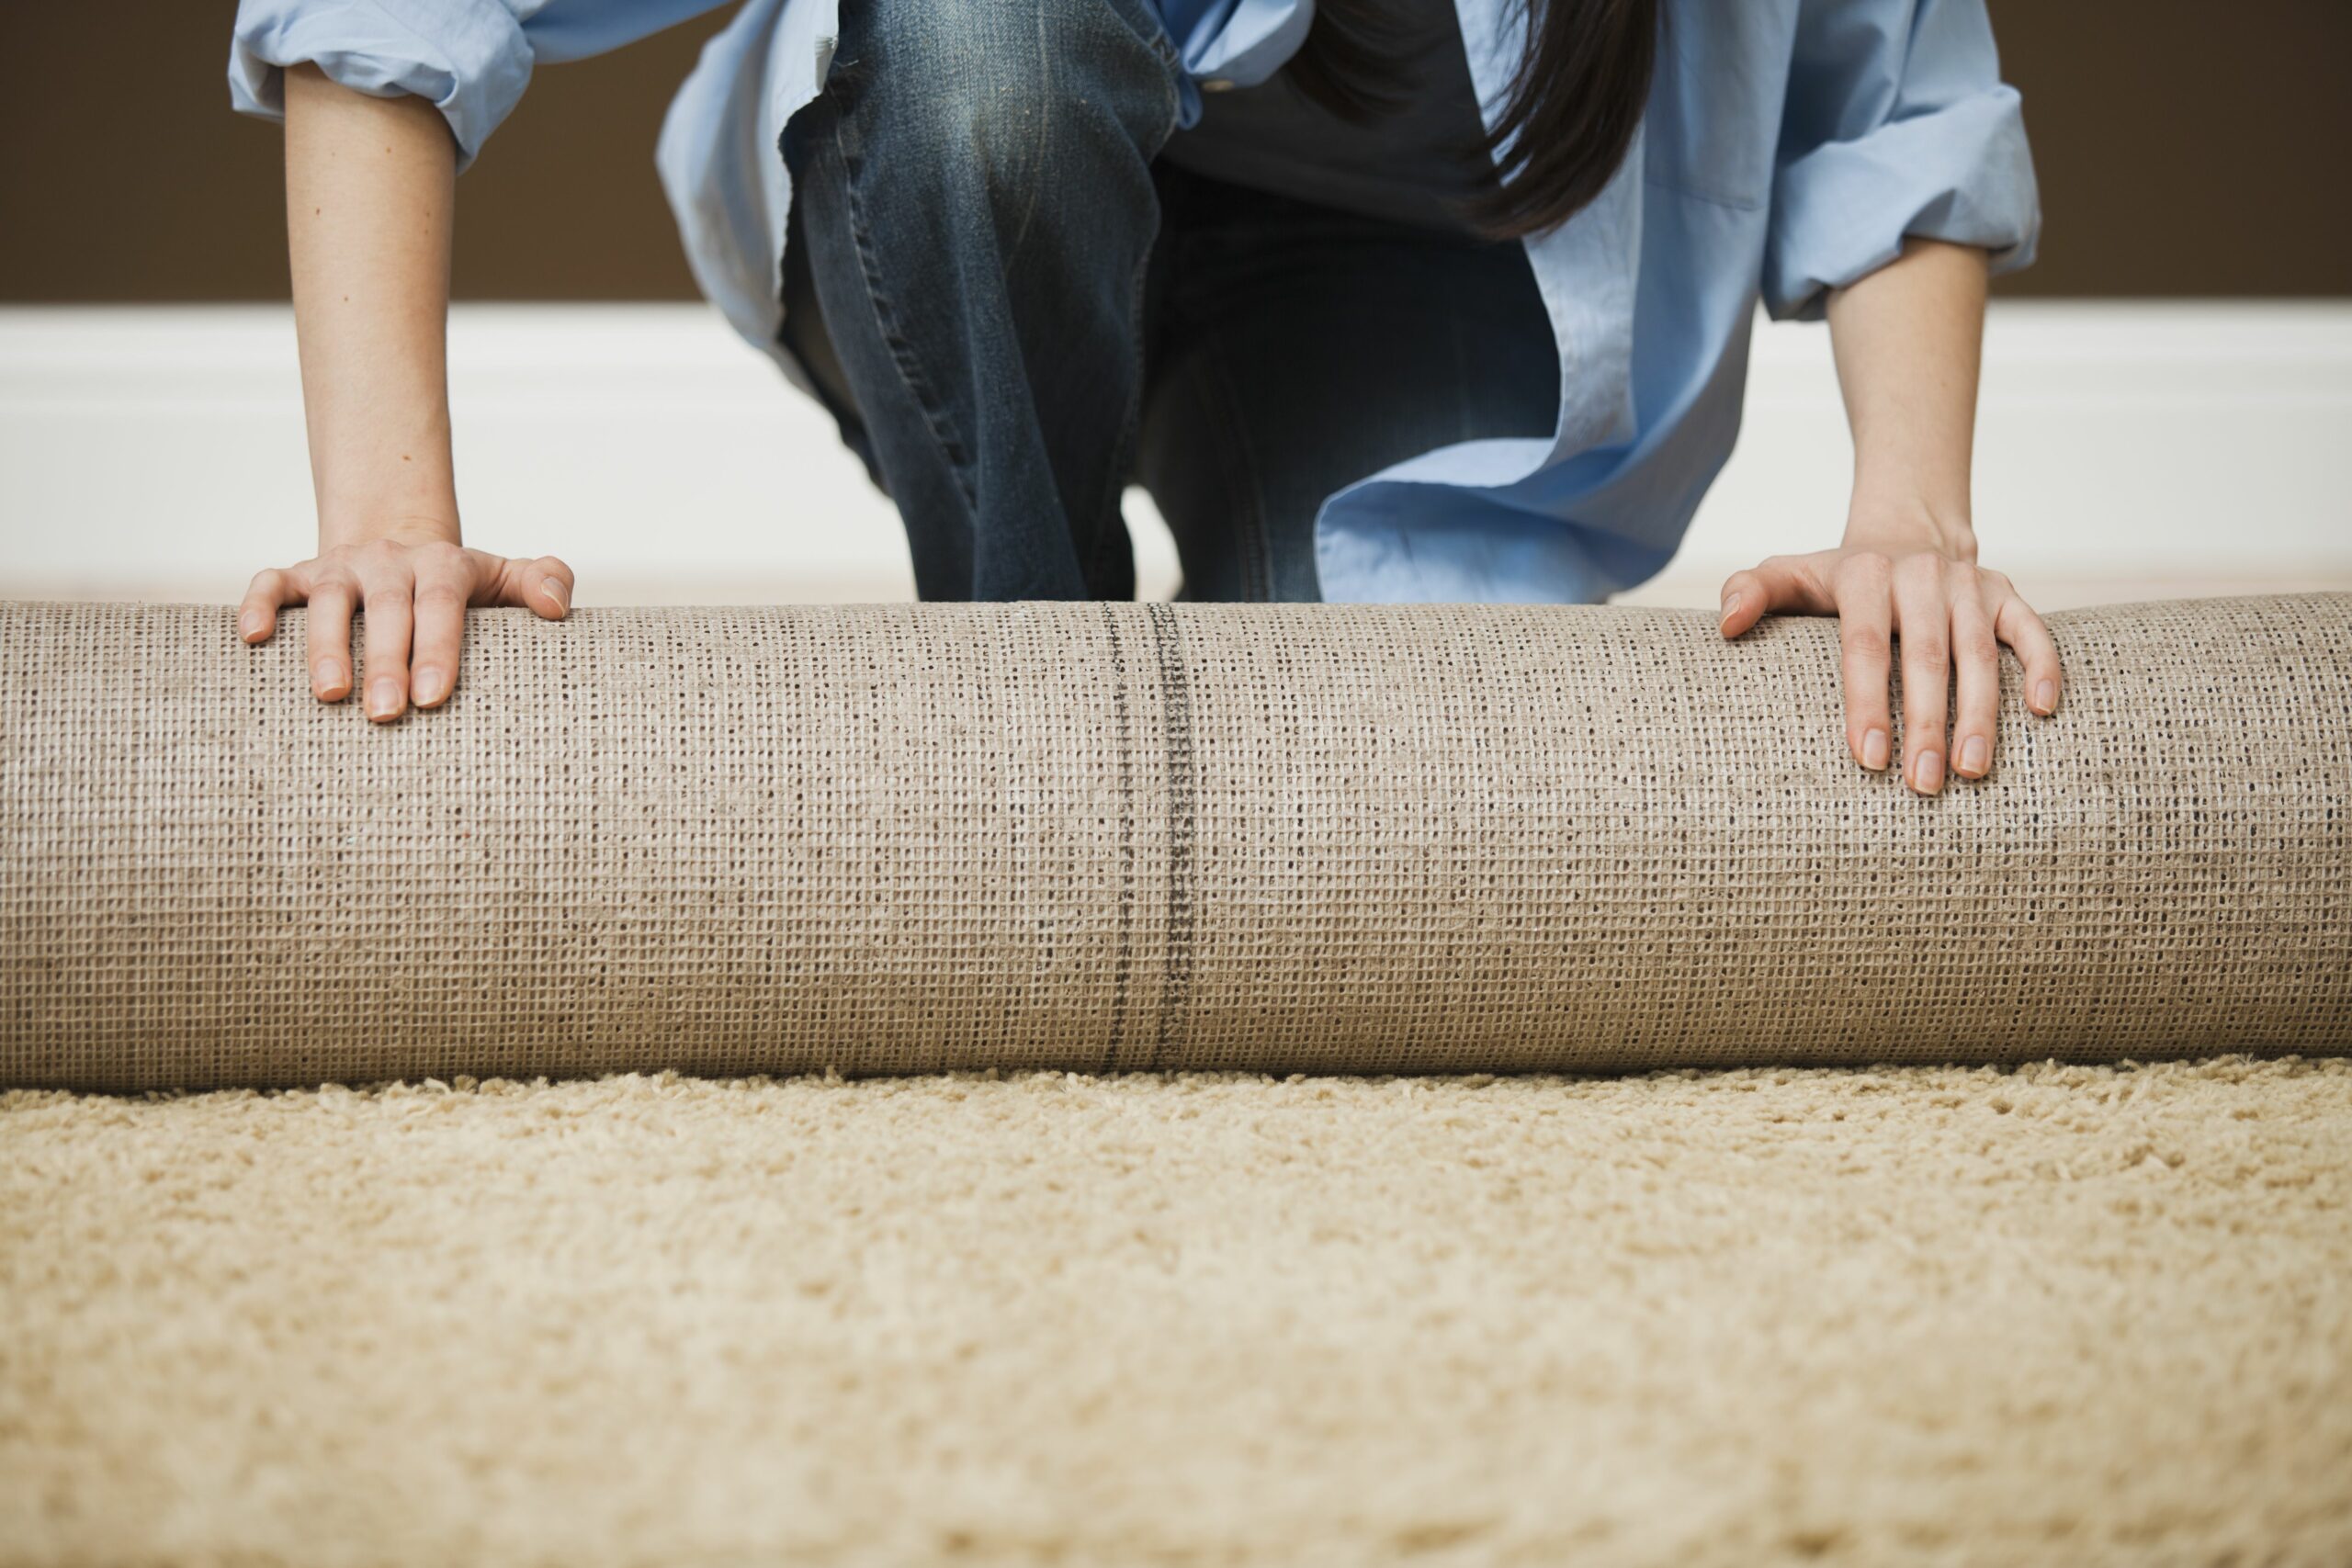
Unroll the Carpet and Secure the Seams
Start unrolling the carpet in one corner of the room. Against each wall, there should be about 2 to 4 inches of excess carpet that overlaps. This is intentional. If the carpet fits exactly at this stage, you may not have enough material to anchor and stretch it. Unroll the carpet so that it covers the floor and tack strips.
Wherever there is a seam, place heat-activated seaming tape, ensuring that both sides of the seam are flat to the floor and even with each other. Heat the tape with a seaming iron to activate the adhesive and bind the seams together. Set the seaming iron to 2 or 3, and slide it along the tape, leaving it in place for about 8 to 10 seconds before moving on.
Press down on the seam to help the carpet stick to the seaming adhesive. After securing the seams, wait 20 minutes before anchoring and stretching the carpet.
-
Anchor and Stretch the Carpet
With the carpet laid out and the seams secure, start anchoring the carpet to the tack strips using a knee kicker. Start in one corner of the room. Place the edge of the knee kicker on the carpet about 3 inches out from the wall in the corner. Use your knee to hit the flat, vertical part of the knee kicker. The impact should tack the carpet onto the strip.
Move along the wall, hitting the knee kicker about once every foot or as needed to ensure the entire length of carpet is anchored to the tack strip. Use a carpet stretcher to then stretch the carpet across the room. Then, switch back to the knee kicker to anchor the carpet to the tack strip.
Repeat this process with the remaining edges of the carpet, always tacking one side before stretching and tacking the opposite side of the carpet to remove any lumps or bumps in the material.
-
Trim the Carpet
Once the carpet is secured, use a carpet edging tool to trim the carpet flush with the baseboards. Use the metal shoe of the tool to press the carpet tightly against the baseboards, and then trim the carpet with the edging tool blade. Alternatively, you can use a utility knife to trim the carpet, as long as it has a new blade to ensure that it cuts all the way through the carpet fibers.
After trimming the carpet, use a wide-blade carpet chisel or a putty knife to slide the edge of the carpeting into the space below the baseboard molding. Work slowly to avoid tearing the carpet or scratching the molding.
-
Install Transition Strips
The last step of the process is to install transition strips across any threshold where the carpet meets a different type of flooring. Generally, these strips fit over the edge of the carpet and can be secured directly to the floor with transition strip tacks.
Finish the project by replacing any doors, baseboards, or trim you removed during an earlier stage of the job. Vacuum the new carpet to get rid of any dust, debris, or leftover carpet fibers, and move furniture and appliances back into the room when you are ready.

