Learning how to remove silicone caulk is a must when it comes time to replace it with new caulk, as applying new silicone caulk over old material can result in a major mess and an improperly sealed joint. Silicone caulk works wonders for keeping moisture out of areas that must stay dry, such as behind a bathtub, around a sink, or along a tiled shower wall. However, caulk doesn’t last forever and, as it degrades, it leaves your home susceptible to moisture issues like mold and mildew, or even extensive water damage.
Here, we explain different ways to remove silicone caulk without damaging the surface so you can replace it when necessary.
Why You Should Replace Old Silicone Caulk
When you pick up a tube of silicone caulk, it often has a specified number of years on the package, which is the length of time you can expect the caulk to last. Some silicone caulks can last up to 20 years, while many need replacing before that.
Over time, silicone begins to degrade and harden. This degradation compromises the sealant, allowing moisture to penetrate the joint. The moisture can lead to mold, mildew, and water damage, leaving your home susceptible to costly repairs. Even before the moisture issues, worn-out silicone will begin to look dingy, compromising your home’s aesthetic.
If you suspect that there could be mold, mildew, or other moisture-related issues, take time to remedy this before applying new caulk on the joint.
How to Remove Silicone Caulk with a Caulk Stripper
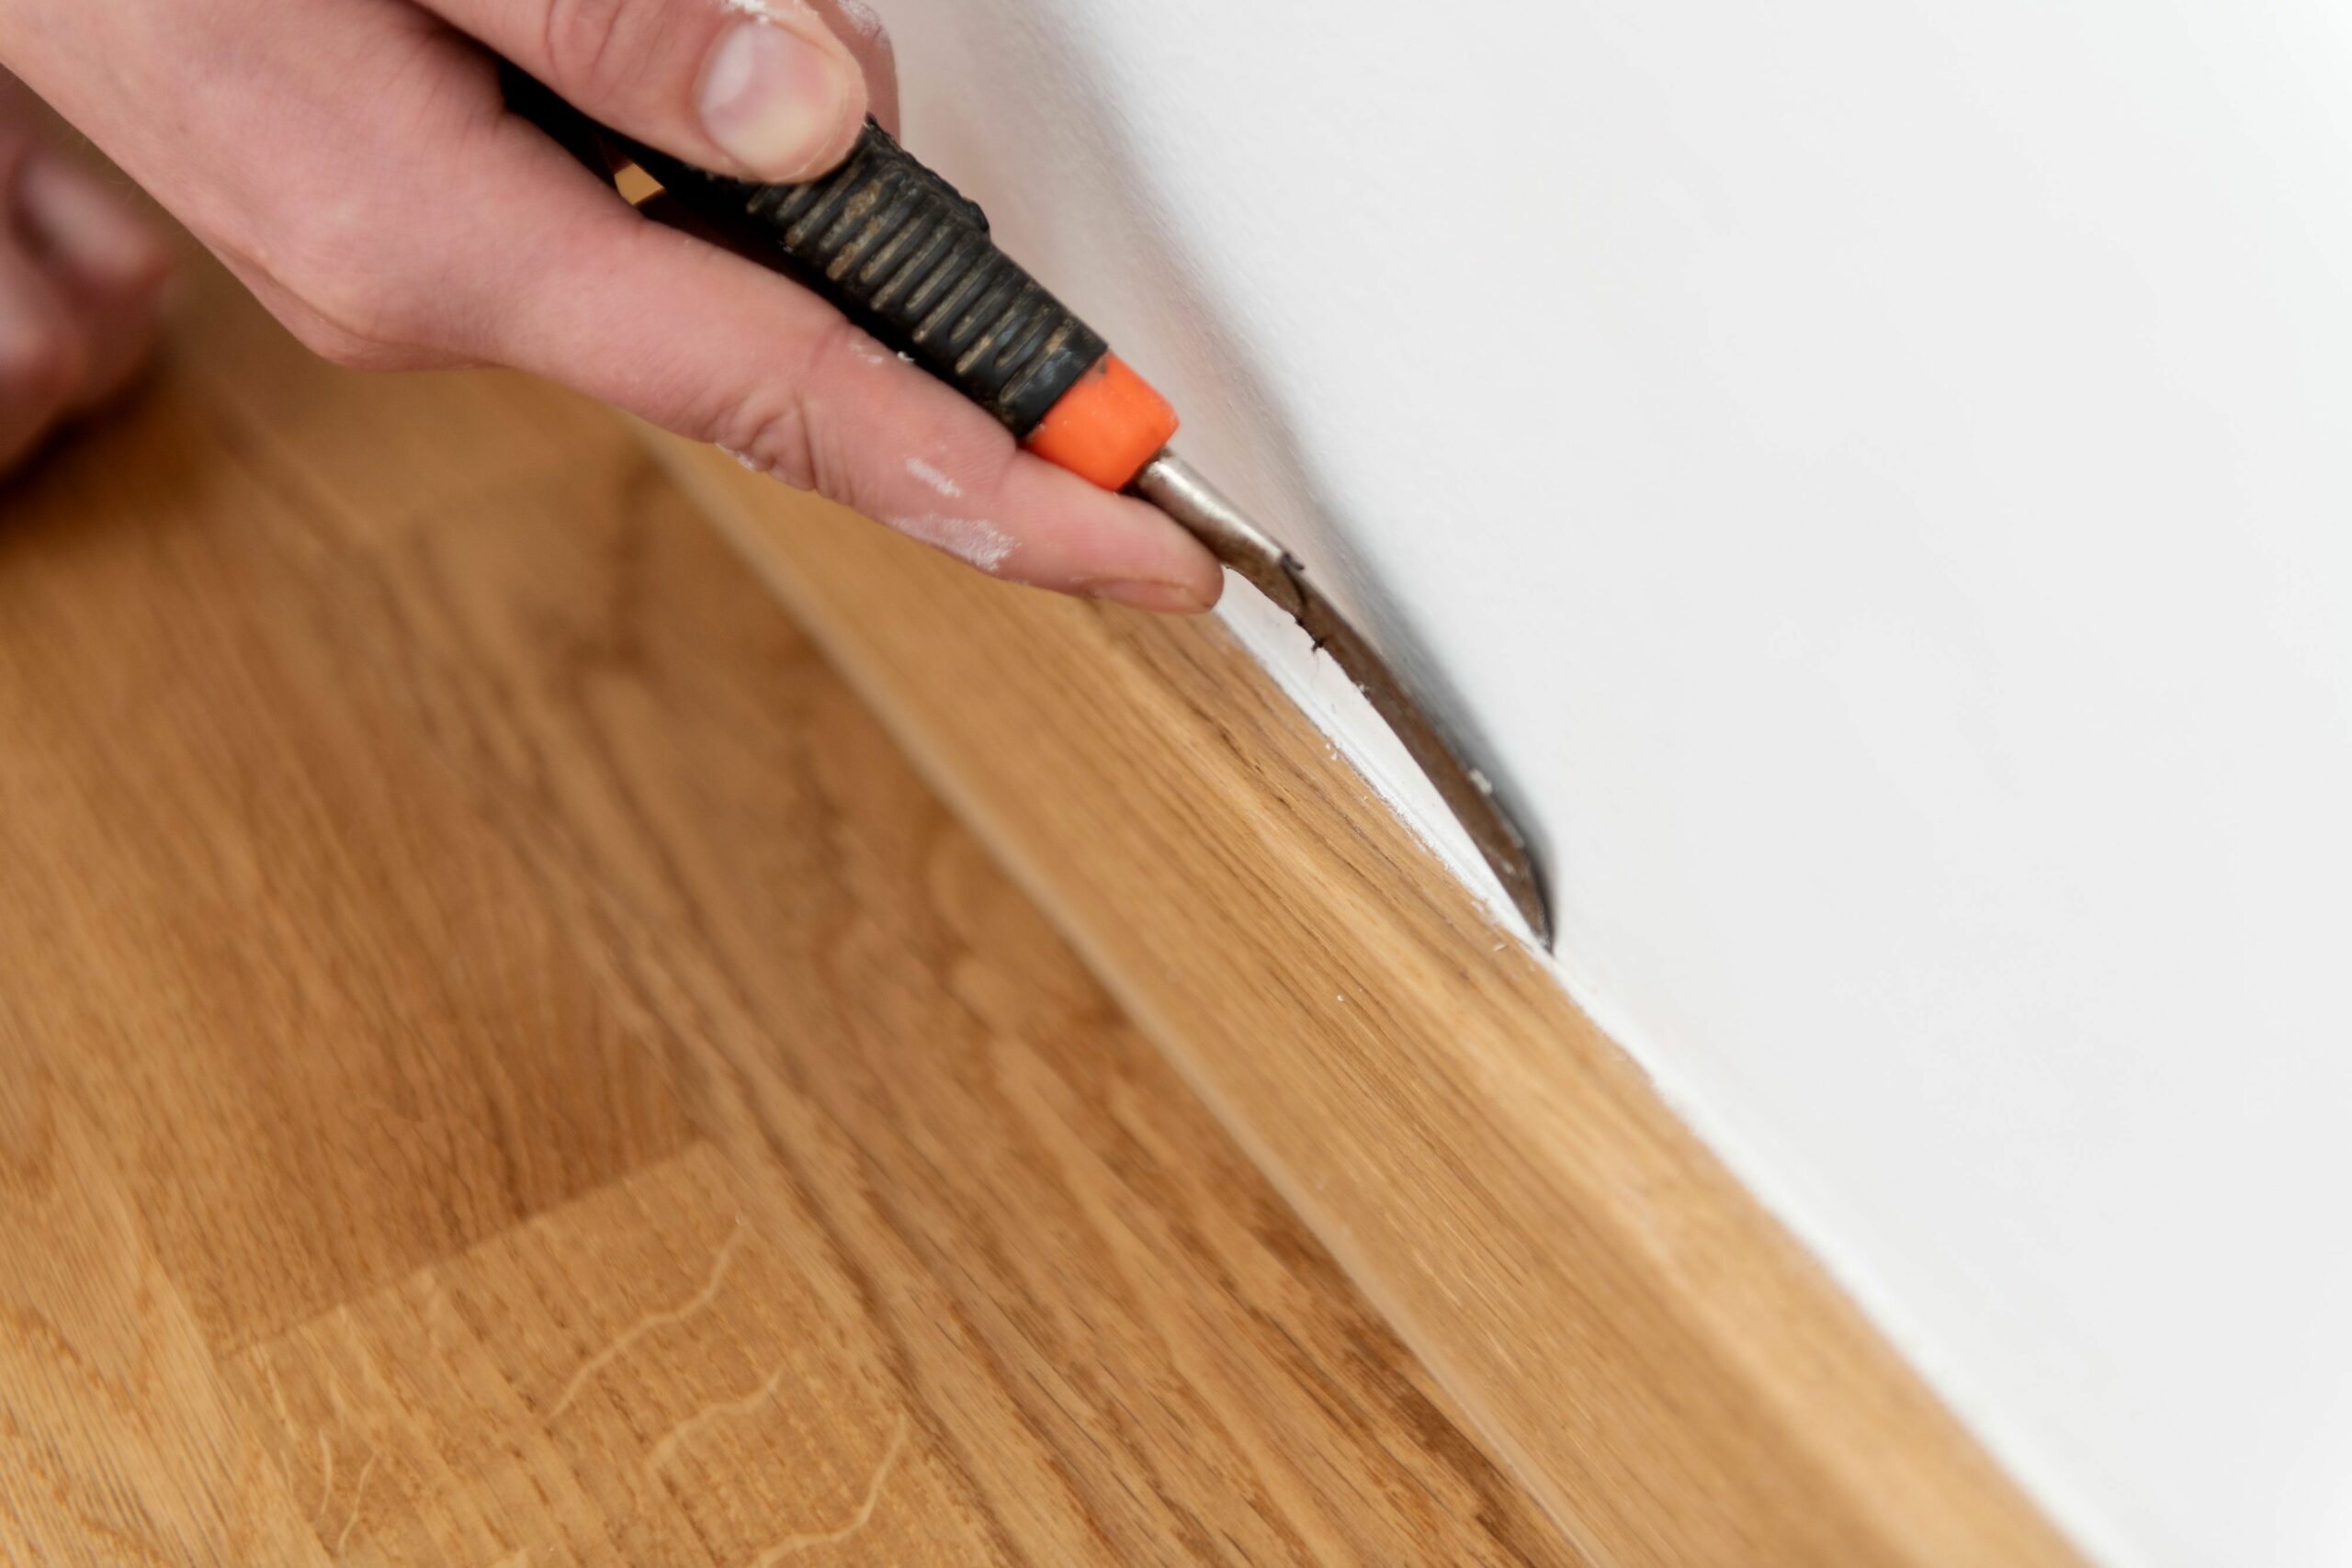
While a utility knife or flat scraper can make quick work of silicone caulk removal, it can be difficult to do without damaging the material the caulk is adhered to. Instead, a caulk stripper tool is designed to strip away the bead of caulk without scratching the surroundings. While this method is effective for removing the bulk of the silicone caulk, it can leave behind some residue.
To remove silicone caulk using a caulk stripper tool, follow these steps:
- Penetrate the bead using the tool. Slide the tool into the bead. You may need to cut the end of the bead using a utility knife first.
- Remove the silicone. Steadily pull the bead away from the joint by pulling the tool toward yourself. If the tool slices through the caulk bead, simply place the tool back into the remaining caulk and start again.
For materials that are prone to scratching and chipping like delicate tiles or resurfaced tubs, use a plastic caulk stripping tool for maximum protection.
How to Remove Silicone Caulk with Pliers
If your silicone caulk is still pliable, it can likely be pulled away with pliers. However, like a caulk stripper tool, this method may leave behind residue.
To do so, follow these steps:
- Cut the end of the silicone caulk. Carefully lift the end of the bead using a utility knife or scraper, allowing you to grab the caulk with pliers.
- Grasp the silicone caulk. Firmly grab the silicone caulk using the pliers.
- Pull the silicone out of the joint. Steadily pull the bead away from the joint. If you pull too hard, the silicone may rip before it pulls out of the joint.
How to Remove Silicone Caulk Using Caulk Remover Solvent
Caulk remover solvent will soften the caulk and help release it from the joint, making it easier to remove and minimizing the amount of residue left behind.
While different types of caulk remover solvent will have different application instructions, most are along these lines:
- Clean the joint. To allow the remover solvent to work more effectively, clean off any dirt or soap scum on the caulk’s surface.
- Apply the solvent. Evenly spread the caulk remover solvent on the silicone caulk.
- Wait. Wait for 5 to 20 minutes, or more if necessary depending on the strength of your silicone caulk.
- Remove the caulk. Once the silicone caulk has softened, scrape if out of the joint.
- Repeat if necessary. If the silicone is still too hard to remove, repeat the earlier steps to soften it.
- Clean the area. Rinse the joint with soap and water.
How to Remove Silicone Caulk Residue Using a Hair Dryer
For stubborn silicone caulk residue left behind on a joint, a hair dryer can be an effective removal method, as it softens the silicone.
To do so, follow these steps:
- Scrape off the silicone caulk. Remove the majority of the caulk using a caulk remover tool or scraper.
- Soften the silicone. With the hair dryer on low heat, warm the silicone caulk up in sections.
- Scrape off the silicone residue. Once the silicone has softened enough, gently scrape it off the surface
How to Prep a Joint New Silicone Caulk
Once you’ve removed old silicone caulk and all remaining silicone residue, there is likely still some residue left behind. While you can’t always see it, it can make it difficult to achieve a smooth seal with new silicone caulk.
To prep the surface for new silicone caulk, follow these steps:
- Soften the silicone residue. Rub the joint with rubbing alcohol or mineral spirits to soften the silicone residue.
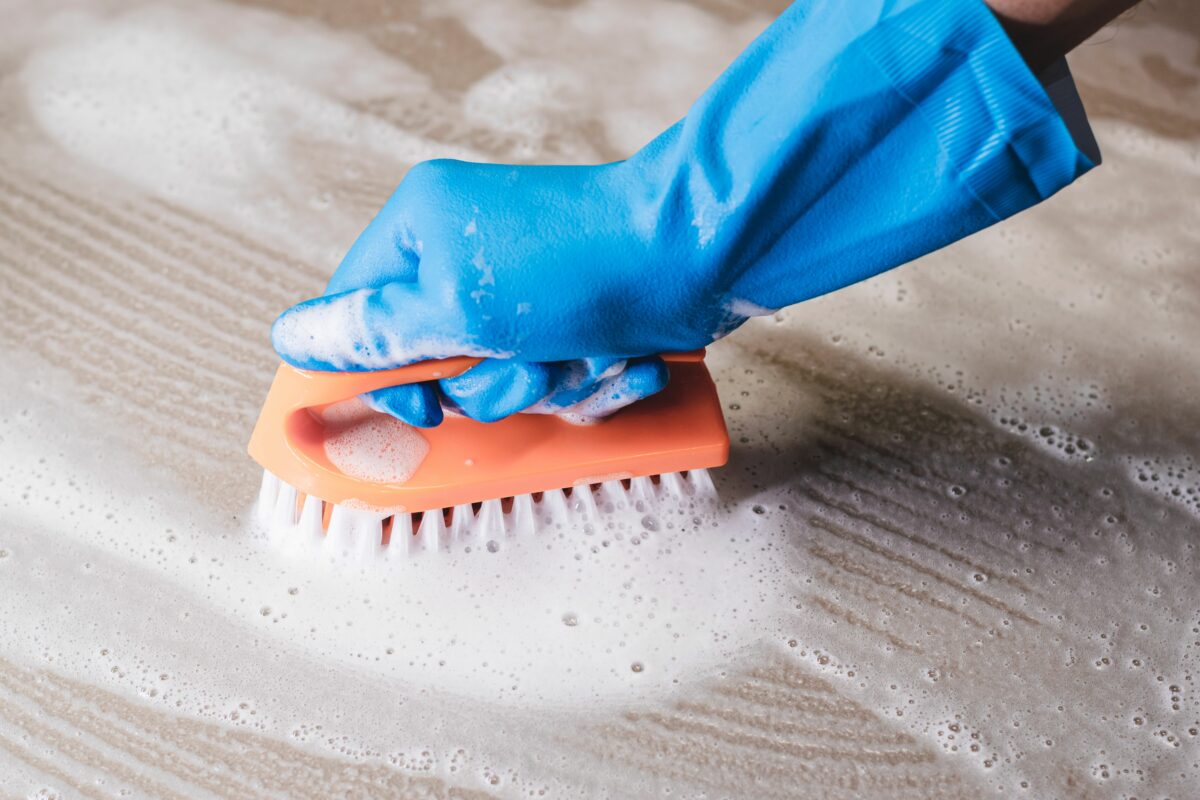
- Scrub the residue off. Use a scrubbing pad or a tough sponge to remove the softened silicone residue.
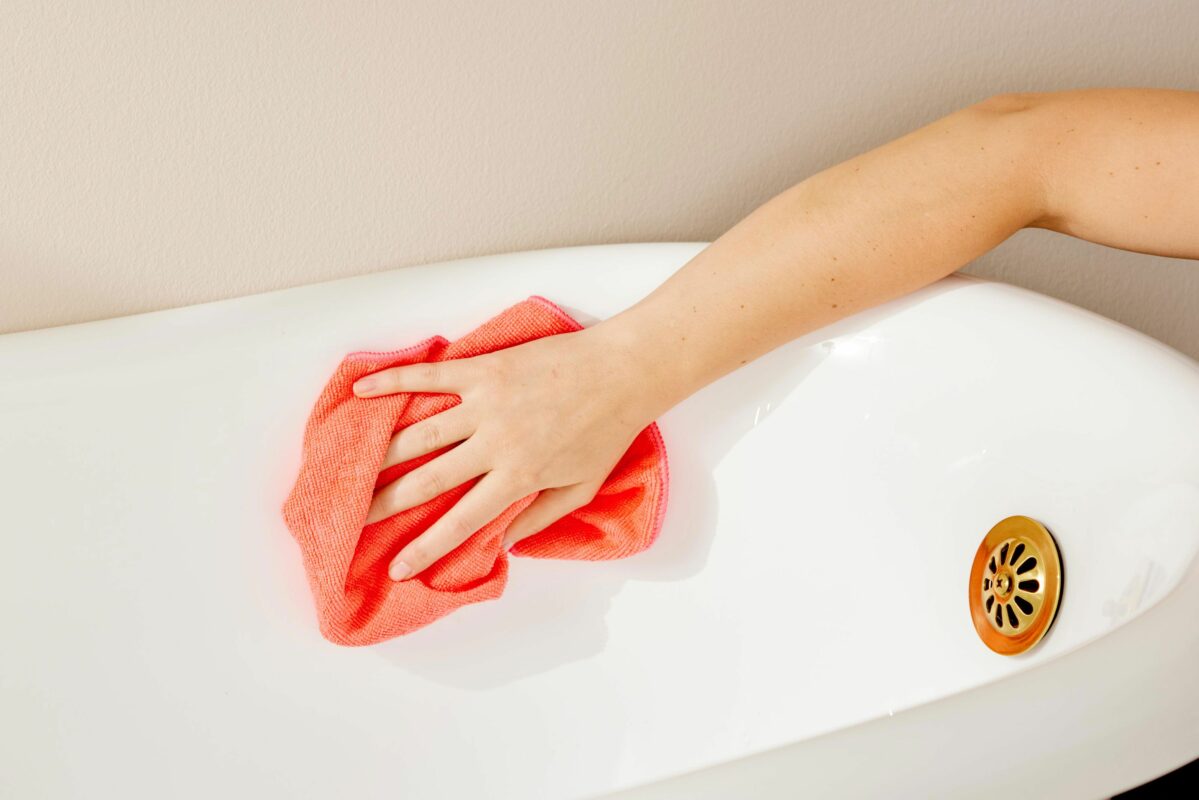
- Clean the area. Wash the area with soap and water and a soft rag.
- Dry the area. Dry the joint thoroughly before applying new silicone caulk.


