It’s no secret that kitchens are among the dirtiest places in a home. The sink alone harbors a slew of harmful bacteria due to its constant exposure to food debris and moisture. Cleaning the space thoroughly and regularly is vital to prevent potential health hazards. However, there are other reasons to tackle kitchen surfaces as soon as spills or splatters occur.
Stains are inevitable in the kitchen, whether caused by cooking, baking, or prepping meals. Some surfaces are more prone to staining because of their proximity or material (or both). By tackling stains straightaway, you’re not only keeping things sanitary but also making it easier to remove the discoloration and prevent permanent damage. Not to mention, it also ensures that the space always sparkles, even on your busiest cooking days.
We’ve compiled the most commonly stained kitchen surfaces and methods for making them look new. Bookmark this guide so it’s readily available next time you need a quick clean-up in the midst of meal prepping.
1. Countertops
It makes sense that countertops are one of the dirtiest places in the kitchen, as that’s where most—if not all—of the prep work takes place. It’s not only the act of assembling dishes that result in stains. They can happen by pouring coffee from the pot into a mug, transferring leftovers from a skillet on the stovetop to a food storage container, and other tasks that often get performed in a hurry. That makes it all the more tempting to clean up later.
Remember, though, that the longer the stain sits, the longer it may take to eliminate—which can cause irreparable damage to your counters. Depending on the countertop material, there are different ways to handle the stain.
Granite, marble, quartz, stone, or concrete countertops: Light stains can be cleaned using mild, pH-neutral dish soap on any of these surfaces, but be sure to remove any residue with a damp cloth. For tougher stains, particularly grease or oil, make a paste of baking soda and water and apply it directly to the spot. Scrub lightly with a soft brush before wiping it away. Repeat until the stain has disappeared. Keep in mind that granite and marble are porous and should be resealed often. These materials may also benefit from being treated with a baking soda and hydrogen peroxide paste for water-based stains, such as fruit or wine.
Stainless steel countertops: Stainless steel is known for its stain-resistant and sanitizing qualities, which makes it an excellent choice for kitchens. If you’ve got sleek steel counters, your biggest battle will be against water spots. Combine distilled white vinegar with water in a spray bottle and saturate the stains before wiping them away with a clean cloth. If you find yourself facing stains from food or drink, try the baking soda solution (cleaning it with a non-abrasive cloth instead of a brush) or a commercial stainless steel cleaner.
Laminate or ceramic tile countertops: Dish soap can eradicate most stains on either of these surfaces. Diluted vinegar is a good option for dark water-based stains, and baking soda paste works wonders on sticky spots. Gently clean the area to avoid scratching either material. Keep the vinegar handy if you need to remove tile grout stains.
Solid-surface countertops: Stains on non-porous materials, such as Corian, are safe to clean using a soapy solution, but they can also withstand more aggressive methods if necessary. Set-in stains, including burn marks, may need to be sanded down. We strongly suggest checking with the manufacturer before tackling the first stain on your solid-surface counters.
Butcher block or wood countertops: These require special care as wood is highly absorbent. First, blot as much of the area as possible when something spills to remove excess moisture. Next, add salt to the stain and rub it using half of a lemon. Allow it to penetrate the stain for a bit before wiping it away. Hydrogen peroxide may lighten dark spots; however, use it sparingly. Stubborn stains may require you to sand down and restore the wood.
2. Cutting Boards
So long as you’re mindful while slicing and dicing, the raw meat or produce juices will likely stay contained to the cutting board and spare your counter. But that also means your boards must be cleaned immediately, especially to quash any risk of cross-contamination. If stains linger after they’ve been cleaned, you can use a few techniques to remove them using many of the same household cleaners mentioned above.
Stained bamboo, wood, and plastic cutting boards can all be safely scrubbed with a baking soda paste. You may also wish to wipe down wood or bamboo boards with diluted vinegar or fresh lemon (forgo the salt component if working on bamboo). Persistent plastic cutting board stains can be treated with diluted bleach before running through the dishwasher using hot water. While bamboo and wood cutting boards should never go in the dishwasher, keeping them oiled will help to prevent future stains.
3. Cabinets
With fingerprints, food splatter, and general overuse, kitchen cabinets take a bigger beating than we realize. Cabinet stains are often not as obvious because they’re not at our everyday eye level, whether it be scuff marks at their base or grease residue building up over the range hood.
Regardless of your cabinet’s material, most superficial stains can be removed with a mild dish soap solution, and stubborn ones will loosen up with a baking soda paste. Wood, glass, and painted cabinet stains can also be treated with diluted vinegar. In contrast, stains on laminate cabinets can be carefully removed using rubbing alcohol, and scuff marks buffed out with a melamine sponge. Always ensure the surface is completely dry after you’re done working the stain. If stains are still slightly visible, consider masking them with furniture polish on wood cabinets or touching up paint where needed.
4. Backsplashes
With the word ‘splash’ literally in the name, this part of the kitchen rightfully earns its place on the list. After all, its job is to protect your walls by catching anything that splatters in their direction. In the kitchen, the backsplash is often covered in grease, oil, and food residue that goes rogue. Luckily, most surfaces can be cleaned with the same pantry staples we discussed.
Use mild dish soap to remove slight stains on backsplashes made of ceramic, porcelain, natural stone, vinyl, and metal. To tackle tougher spots, a baking soda paste is safe to use on all the materials mentioned above, plus glass tiles. As with countertop tiles, don’t neglect the stains that stick to grout. Or, for less maintenance, consider using a peel-and-stick backsplash without grout lines. If you like the look of copper backsplash, note that cleaning it frequently can disrupt its natural patina progression, so a finished or faux copper might be a better option.
5. Appliances
Sticky spills in the fridge, grease drippings in the oven, oil spatters on the stovetop, and hard water stains inside the dishwasher happen daily. The best way to prevent set-in stains is to tend to any messes as soon as you notice them. Ensure hot appliances are off and cooled down before attempting the following stain-removal methods.
Remove Stains from the Outside of Appliances
Stainless steel appliances: Like countertops, diluted vinegar is a solid way to erase stains on stainless steel appliances. Spray it onto smudges and water spots before wiping it away with a cloth. Add a baking soda paste or try a commercial stainless steel cleaner for harder-to-remove stains.
Black appliances: Due to their glossy appearance, black appliances quickly show streaks and stains. Cleaning them thoroughly with diluted vinegar and a soft cloth should do the trick. Use a baking soda paste on stubborn spots if necessary, but be gentle to avoid surface scratches.
White appliances: Although it’s the least popular finish, white appliances are starting to trend again. The good news is that if they’re your style, they’re the easiest to clean, thanks to their coating. A Magic Eraser is all you need to remove most stains from the outside of white appliances.
Remove Stains from the Inside of Appliances
The refrigerator: Spilled condiments on the fridge shelf are no match for – you guessed it – good ole baking soda. Simply apply the paste directly to the stain, let it sit for a few minutes, and then wipe clean. As a bonus, it abolishes lingering smells as well. And, in case you’re not yet convinced of the power of baking soda, this no-fail fridge-cleaning method has been a part of Better Homes and Gardens advice since 1959!
The microwave: When you open the door and see that spaghetti sauce has erupted, it’s tempting to tackle the mess with a strong disinfectant. However, spraying cleaner in the microwave is not as safe as using a non-toxic technique. Instead, add water and vinegar or lemon to a heat-proof bowl and microwave it until steam accumulates. Give it time to work its magic, and then carefully wipe the interior until stains are gone. Wash the turntable parts by hand once they’re cool.
The dishwasher: Food scraps, soap scum, and even mold can collect and stain the inside of your dishwasher. Not only is it unsightly and smelly, it can be downright dangerous if left untreated. To clean the dishwasher, first remove any visible residue by hand. Next, in an otherwise empty dishwasher, place either a vinegar-filled cup (to help kill mold spores) or one with lemon juice (to banish hard water from mineral deposits) on the top rack and run a cycle on the hottest setting. If stains (and their source) persist, try a commercial dishwasher cleaner or contact your plumber to assess whether or not the appliance is draining properly.
The oven: There are a multitude of oven-cleaning hacks, and that’s likely due to how dirty this appliance gets. Since it’s hard to see what spills inside clearly, it’s a spot in your kitchen that probably gets neglected (at least, until smoke or the smell of burning brings it to your attention). If your model has it, use the self-cleaning function to burn off old residue. If stuck-on stains remain, try removing them by applying the baking soda paste and scrubbing with aluminum foil or by baking lemons and, like with the microwave, letting the steam loosen gunk so it’s a breeze to wipe away.
Special considerations for stovetop stains: It doesn’t matter if you have a gas or electric stove; the stains will stack up if you use it to cook. And while it’s best to combat them as soon as possible, remember that the burners need to be off and completely cool to the touch before you do. When ready, remove any grates and soak them in soapy water. Then, with the same dish soap and a damp cloth or sponge, wipe up light stains from a glass, ceramic, enamel, stainless steel, or induction cooktop.
Your trusty baking soda paste will be safe for more substantial stains on any surface. If the stain has really set in, you may need to try a special cleaner designed for the material, a degreaser, or a scraper. Cast iron grates should be reseasoned occasionally. After successfully cleaning the stovetop, notice if anything you keep nearby is stained (such as salt and pepper shakers) and scrub them down, too.
6. Sinks
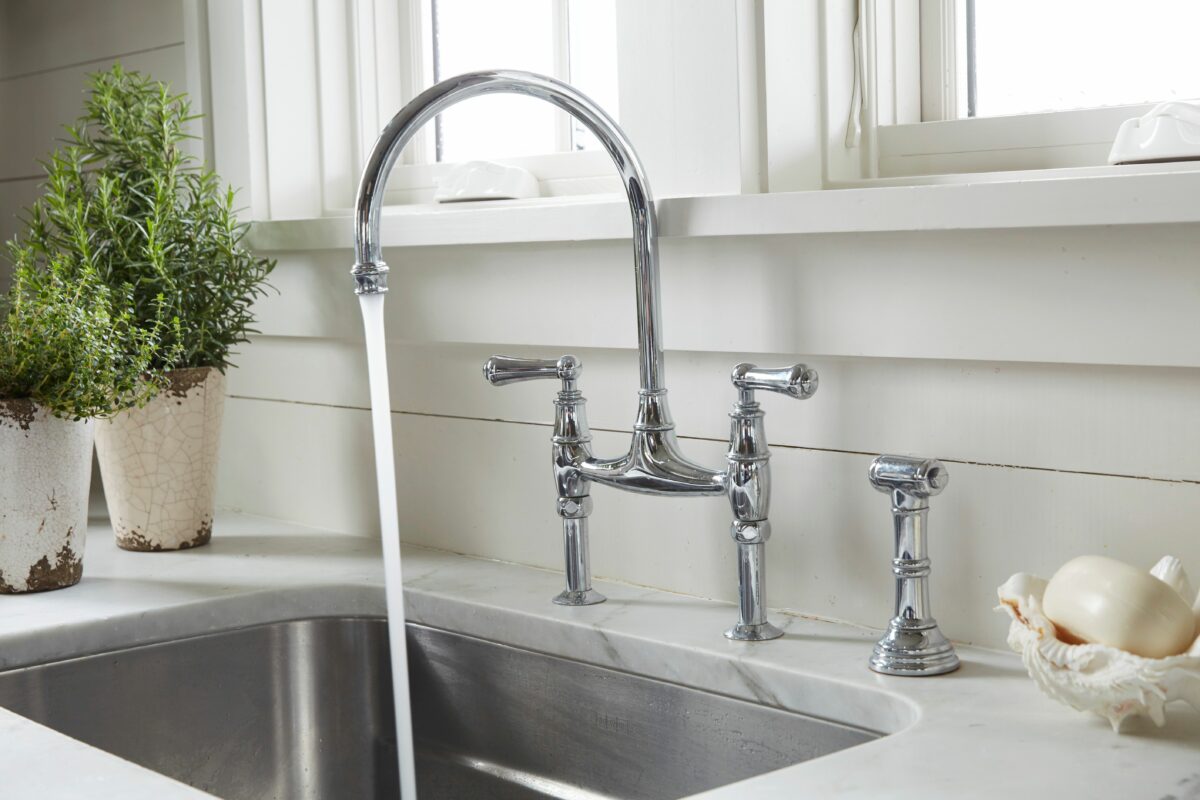
Even if your home doesn’t have hard water or a kitchen sink made of metal (and, therefore, prone to rust), sink stains are still hard to avoid. Drinks get dumped down the drain, food scraps go in the garbage disposal, and dirty dishes sit in it when life is busy. No matter what type of sink you have, there’s a simple way to remove surface stains.
Most ceramic, porcelain, stainless steel, granite, cast iron, and copper sink stains can be addressed similarly. Spray diluted vinegar to banish water spots and scrub stubborn stains with the baking soda paste or salt and half a lemon. If your cast iron, ceramic, or porcelain sink has deep discoloration, combine baking soda with hydrogen peroxide instead of water for a more powerful clean. On the other hand, try baking soda and vinegar to lightly scrub granite and granite composite sink grime. Ward off future stains in your stainless steel sink by buffing it with olive oil.


