Project Overview
-
Working Time:
1 hour
-
Total Time:
2 hours
-
Skill Level:
Intermediate
-
Estimated Cost:
$35 to $50
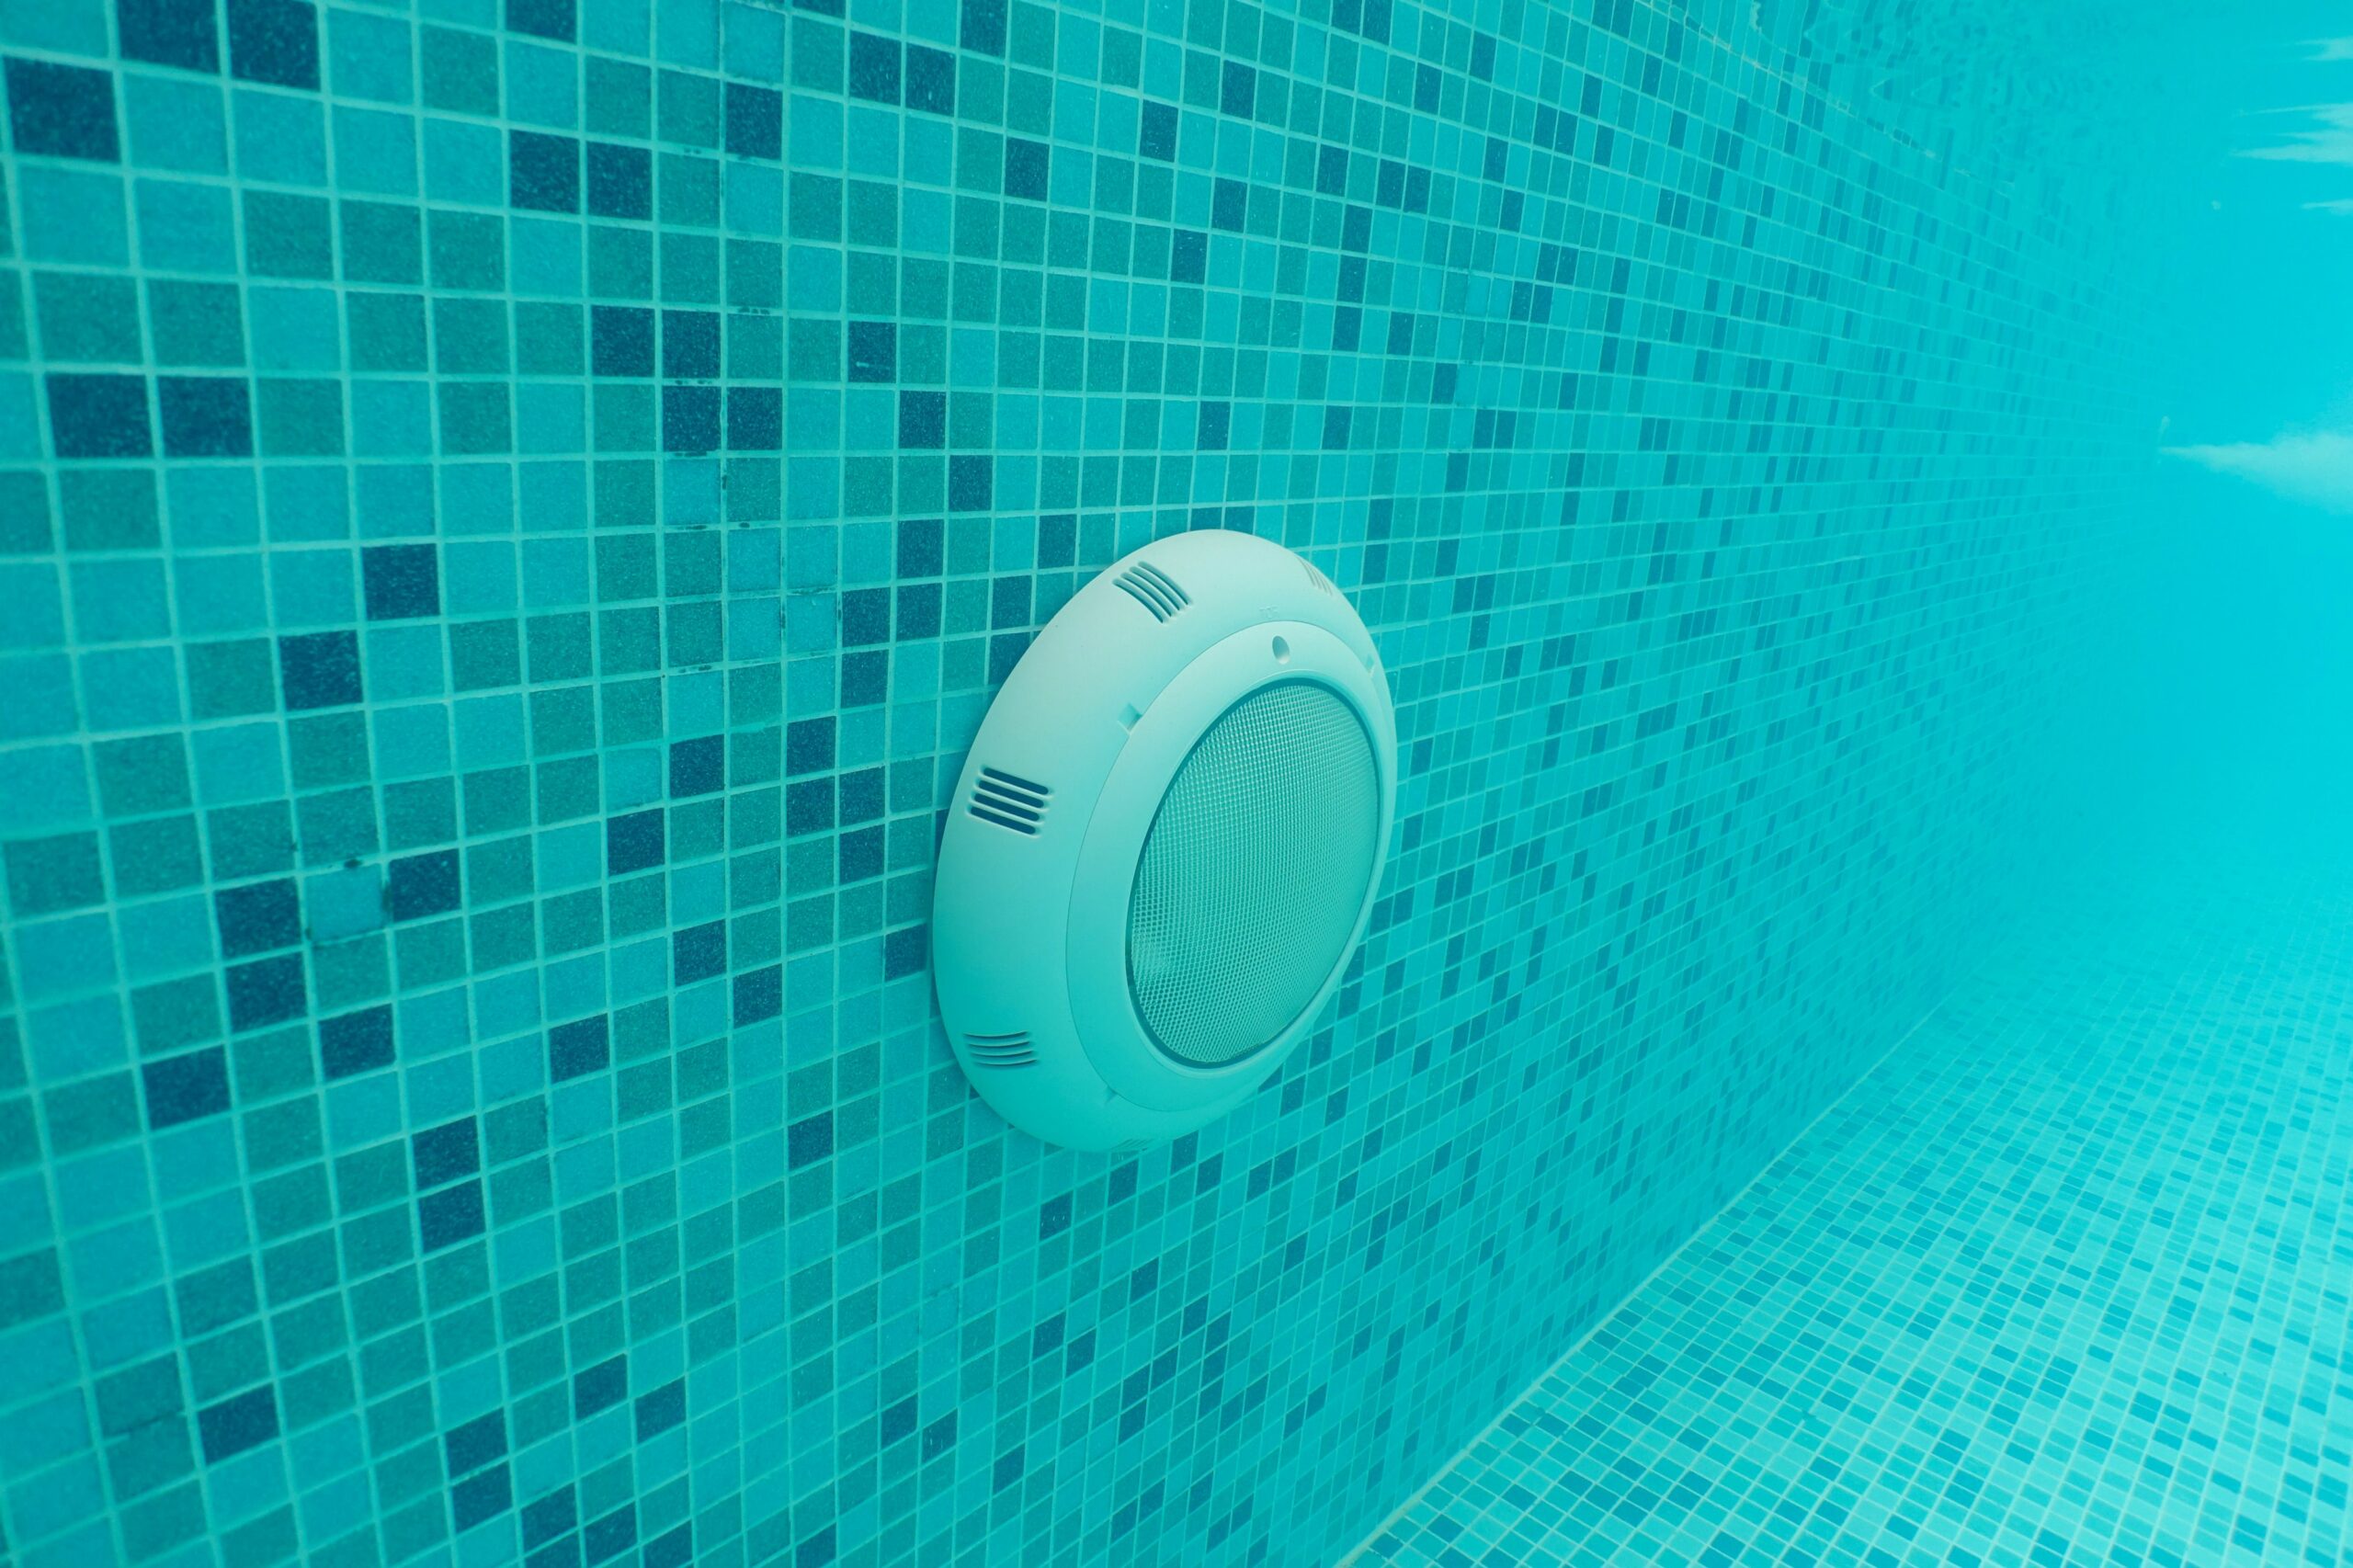
There is something uniquely relaxing about swimming in a lit pool at night. However, this peaceful scene can be disrupted if the lights go out. A pool light may burn out over time or if water enters the light fixture. Even touching the bulb directly can transfer oil to the bulb, causing it to burn out prematurely. The good news is that replacing a pool light is a relatively straightforward repair, though it requires careful attention and necessary caution to avoid accidental injury or damage to the new light. Follow this guide to learn how to change a pool light.
Safety Precautions
It’s necessary to note that this job involves working with electrical equipment in close proximity to an open body of water. Without proper precautions, there is a risk of accidental electrocution, so it’s essential to take the appropriate steps to turn off the power and verify that the power is off before you begin. Typically the pool equipment will connect to a labeled breaker switch on the main electrical panel, though in some cases, the pool will have a dedicated electrical panel where you can turn the power off.
Additionally, when working around the pool, it’s important to walk slowly and carefully to avoid slipping or tripping. A wet deck can pose a significant hazard when your attention is focused elsewhere, so use a towel to wipe up any water in your work area. Also, make sure to keep track of tools, fasteners, and other equipment in the vicinity.
Instructions
How to Change a Pool Light
-
Turn Off the Power
Before attempting to remove the pool light fixture, you need to turn off the power to the pool light and pool equipment. Head to the breaker box for the home and locate the switch that controls the pool equipment. If the switch is not on the main breaker box, the pool may have a dedicated breaker box where you can shut off the power. Flip the breaker switch to turn off the power.
Turn on the pool lights if you have more than one and activate the pool pump to verify that the power is off. If the power has successfully been shut down to the pool equipment, then the pump and pool lights will not turn on.
-
Remove the Pool Light Fixture
Some DIYers may be able to unscrew the pool light fixture without getting in the pool, but if the light is too low on the side of the pool, or your arm isn’t long enough to reach, you may need to get into the pool to loosen the screw at the top of the fixture, known as the screw-lock.
Next, use a flat-head screwdriver to carefully pry the light fixture out of the light box. Work around the light until it is loose enough to grab with your fingers, then pull the light fixture out of the wall.
-
Pull the Light Fixture Onto the Pool Deck
While the light fixture is still in the pool, check for buoyancy by allowing it to float on the water. If the housing does not float or seems to have water in it, this is the likely cause of the light burning out. Inspect the housing for any cracks or obvious signs of damage. If the housing appears fine, the gasket may need to be replaced.
Raise the pool light housing out of the pool and onto the pool deck. Wipe up any water in the area, then dry the light fixture, your hands, and any tools you will be using. If moisture gets into the light fixture during this repair, the new bulb may break shortly after turning it on.
-
Take Off the Light Fixture Cover and Lens
Depending on the age and model of the pool light, you may need to remove several screws to loosen the light fixture cover. Newer pool lights are typically secured by tabs that can be pried free, instead of screws. Undo the light fixture fasteners to remove the cover.
Next, take out the gasket and lens to reveal the lightbulb. Before proceeding, inspect the gasket for signs of wear. If necessary, dispose of the old gasket and replace it with a new gasket.
-
Replace the Light
Now that the bulb is exposed, go ahead and remove it from the light fixture. The oil from human hands can damage the bulb, causing it to break prematurely, so when you are installing the new lightbulb, hold it with a paper towel or a microfiber cloth, being careful to avoid touching the bulb directly with your skin.
-
Reassemble the Light Fixture
After changing the lightbulb, replace the gasket if necessary, then reassemble the light fixture housing. Work slowly to ensure that the pieces of the light are placed properly to avoid any gaps in the housing.
Secure the light fixture using the screws, tabs, or other fasteners that were previously removed. When you are confident that the housing is watertight, place it into the pool water to check the buoyancy. If done correctly, the housing will float and no water will enter the light fixture.
-
Reinstall the Pool Light Fixture
Slide back into the pool, if necessary, then coil the cable around the base of the fixture before inserting the light back into the wall. Hold the fixture in place as you secure the light to the wall using a screwdriver and the screw-lock fastener that was originally removed.
-
Turn the Power On and Test the Pool Light
Climb out of the pool and dry off, then head to the electrical panel. Turn on the pool breaker switch to restore power to the pool light and pool equipment. Once the power is back on, test the light to make sure that it is working properly.


