How to Clean a Brita Pitcher
-
Disassemble Pitcher
Take the unit apart, separating the pitcher from the lid and reservoir. Remove the filter and set it aside.
-
Wash Pitcher, Lid, and Reservoir
Use a nonabrasive sponge or dishcloth to wash the pitcher, lid and reservoir with hot, soapy water. A toothbrush can be useful for scrubbing tight corners, particularly in the reservoir.
Do not put Brita pitcher parts in the dishwasher.
-
Rinse
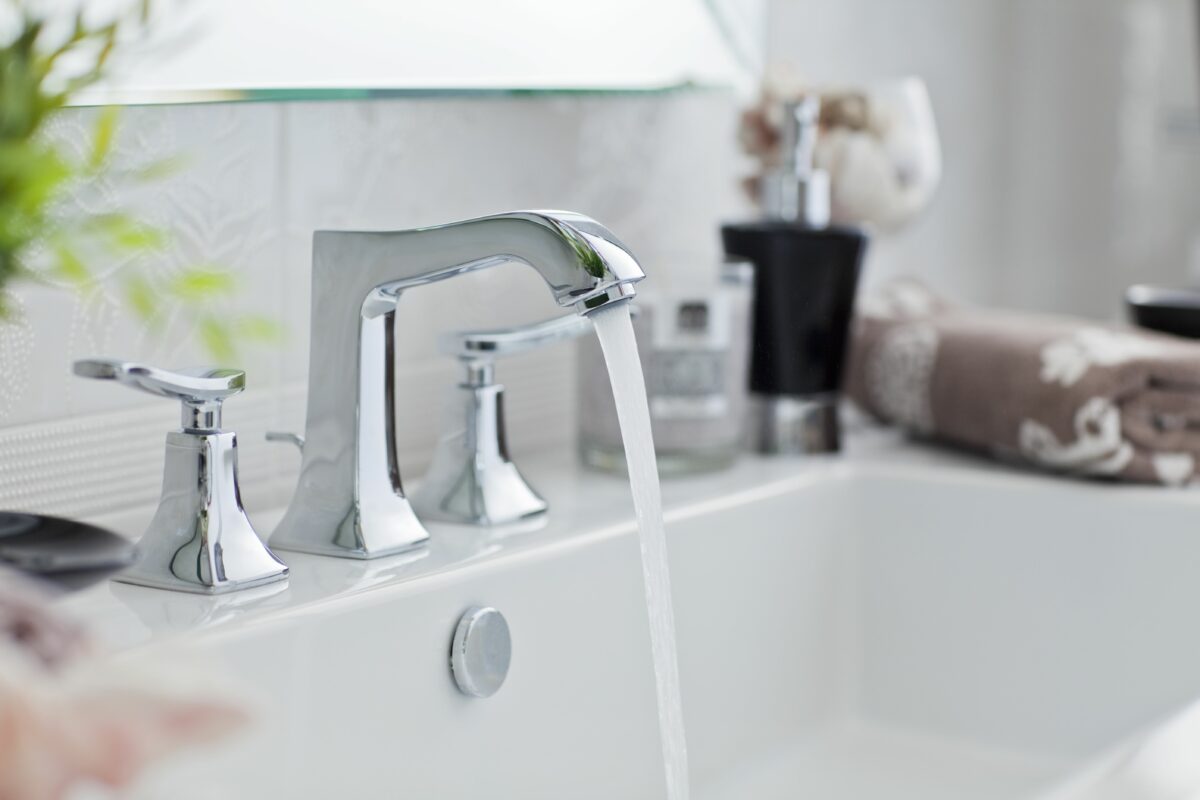
Rinse all the parts with hot water.
-
Dry and Reassemble
Dry all the parts with a clean kitchen towel. Reinsert the filter, replacing it with a new one if needed, and reassemble the pitcher.
How to Eliminate Mold, Mildew, or Limescale from a Brita Pitcher
If, after washing with hot, soapy water, there is mold, mildew, or limescale present in your Brita pitcher, use this method to eliminate it.
Step 1: Create Solution. Mix ⅓ cup of distilled white vinegar with ⅔ cup of water inside the pitcher.
Step 2: Scrub Pitcher. Use a nonabrasive sponge or dishcloth to scrub the interior and exterior of the pitcher with the vinegar solution, as well as the lid and reservoir. Use a toothbrush to scrub the reservoir, if needed.
Step 3: Rinse and Dry. Dump out the vinegar solution, rinse the pitcher, lid, and reservoir well with hot water, and dry all the parts with a clean kitchen towel before reassembling the unit.
How to Clean and Change a Brita Filter
Brita filters should only be cleaned with water; avoid the use of soap or distilled white vinegar, which can damage the filter. To clean a Brita filter, flush it with running water for a few seconds, which will remove any particles in the filter.
Blue Brita filters can be directly inserted into the reservoir, but white and gray Brita filters should be rinsed with cold running water for 15 seconds before inserting them into the reservoir.
After inserting a blue or white filter, fill the pitcher with water, allow it to filter, and pour it out. Repeat that process two more times, discarding a total of three pitchers of filtered water. Then, fill the pitcher again and place it in the refrigerator.
Brita pitchers that use a gray filter can be filled with water and placed in the refrigerator immediately after a new filter is inserted.
How Often to Clean a Brita Pitcher
Generally speaking, clean a Brita pitcher once a month or when you change the filter. Brita filters should be changed every two to six months, depending on the type of filter your pitcher uses.
Signs that it’s time to clean your Brita pitcher include slow filtering and unpleasant odors. To keep a Brita pitcher clean longer, stay on top of replacing old filters with fresh ones on the recommended schedule, and avoid putting fruit, fresh herbs, or vegetables in the pitcher.


