

Whether your home has a room that’s notoriously hot or you simply don’t have the luxury of central HVAC, there’s a good chance you’ve considered installing a window air conditioning unit. Learning how to install an AC unit is pretty straightforward, but it’s worth familiarizing yourself with the process before you get started. This way, you can rest assured that the process will be quick and easy—and you’ll also be safeguarding the safety and effectiveness of the unit.
Follow the steps below to make sure your sweltering space has a properly installed window air conditioner to keep it cool for the summer.
Choosing a Window Air Conditioner
Window air conditioners come in various sizes and with a wide range of features. While many features—such as fan speeds, filter alerts, and sleep mode—will depend on your cooling preferences and needs, there are a few key things to pay close attention to when purchasing your unit to make sure it’s right for your space. To get started, measure your window and shop for units that fit within its dimensions.
The most important spec to note when shopping for window air conditioners is the square footage rating. If your space is 600 square feet and you settle for a unit only rated for 350 square feet, you’ll likely be disappointed in its inability to cool your space thoroughly. The unit’s cooling power is rated in BTU (British Thermal Unit), and as this number increases, so will the square footage rating.
While purchasing a suitably sized air conditioning unit is a must, some features are worth splurging on. Here are some top features:
Programmable Units
A programmable unit will allow you to program when you want the air conditioner to run and turn itself off. This will save you energy and money, allowing you to sit back and enjoy the cool air without constantly turning the machine on and off.
Smart Units
Smart units can be controlled by your smartphone or tablet, making operation a breeze. If you don’t opt for a smart unit, you should at least get a unit with a remote control, particularly if the air conditioner is in a distant or hard-to-get-to corner or you have mobility issues.
Air Ionizers
Units with air ionizing built-in purify the air as they cool your house, making these air conditioners two appliances in one.
Determining Whether You Need a Support Base
You’ll likely come across support bases as you shop for window units. If your window is in good condition and the window air conditioning unit you’re installing doesn’t specify the need for a support base, you likely don’t need one. However, many cities mandate the use of support bases for safety reasons. Look into your local laws and building codes to determine whether you need a support base.
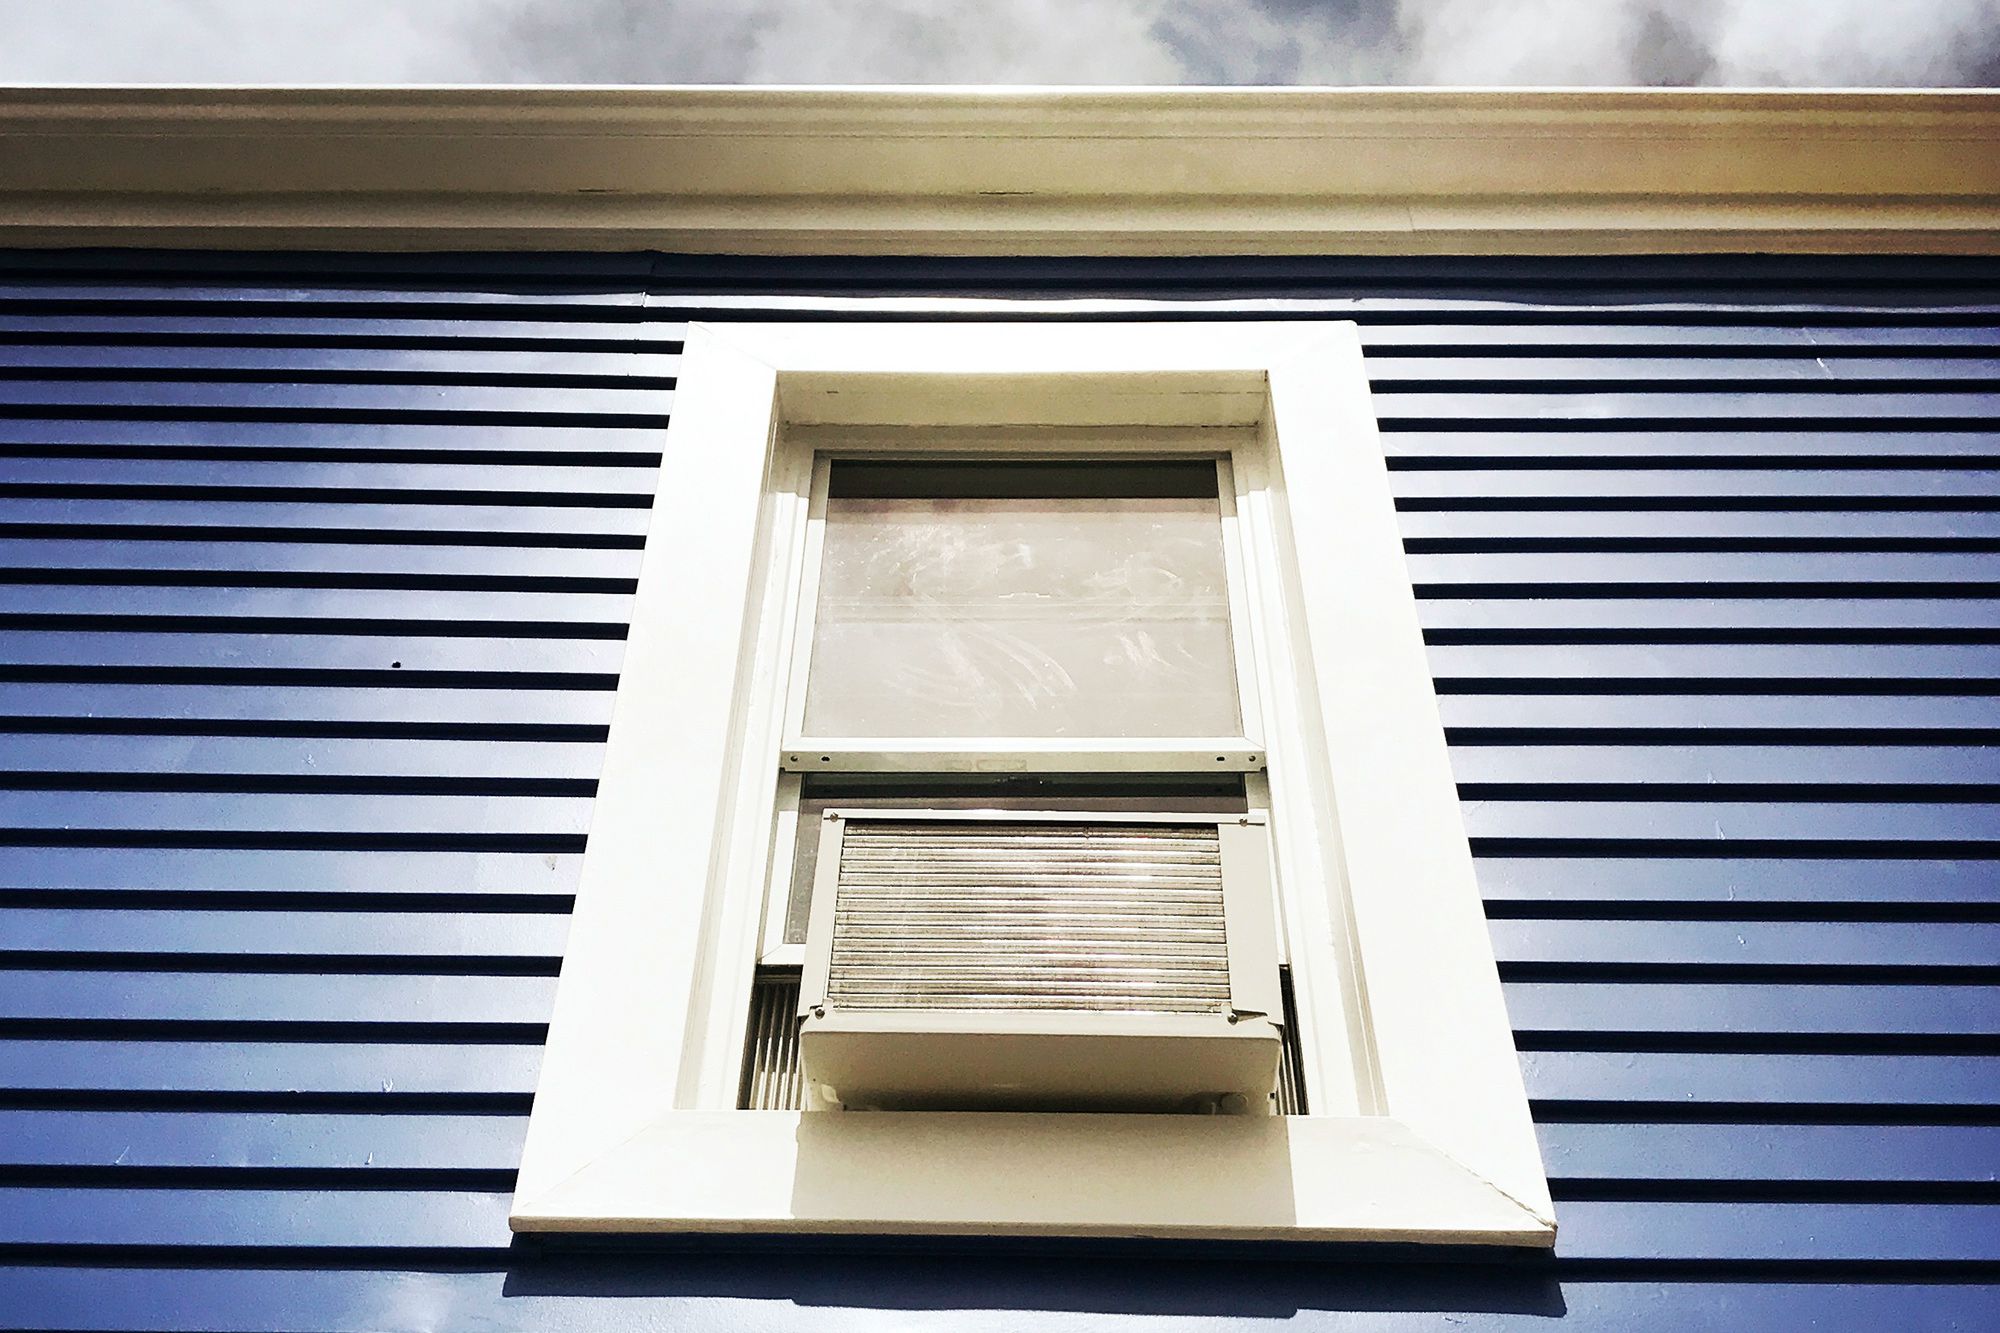
How to Install a Window Air Conditioning Unit
Any experienced DIYer will easily understand how to install an AC unit. However, these units can be a little heavy, so if you can’t safely place the unit in the window alone, we recommend getting a helping hand. Ready to get started? Grab the tools and supplies below and follow our step-by-step installation guide.
Step 1: Open Window and Clean Sill. Open your window by sliding the bottom sash all the way upward. Remove the screen if in place. Inspect the sill at the bottom that the window slides into when closed and remove any dirt or debris. This is where the base of the air conditioning unit will sit once installed, so this slot must be clear of anything that could prevent the unit from being securely seated.
Step 2: Install Weather Stripping (Optional). If you plan to install weather stripping to keep the cold air in and the hot air out, do so now. Follow the manufacturer’s instructions on your weather stripping and apply it to the bottom sill and the bottom of the window.
Step 3: Stage the Area. Placing the unit in the window will require you to seat the heavy unit on the bottom sill and slide the window into place, aligned with the rail on the top of the unit, while supporting the unit’s weight with one arm. Before placing the unit, familiarize yourself with the process and ensure your window will easily slide into place as you support the unit. Call in a helper at this point if needed.
Step 4: Install the Unit. Lift the unit and carefully place it in the window, guiding the bottom rail into the slot on the bottom sill. To hold the unit in place, slide the window behind the top rail. If properly secured, the weight of the unit will hold it in place.
Step 5: Install Window Locks. Above the top of the window panel, install sliding window security locks. This will ensure the window can’t be bumped out of position, causing the unit to fall. Additionally, this will prevent outsiders from being able to slide the window open.
Step 6: Secure the Unit in Place. Use the included hardware to screw through the top rail of the air conditioner (there should be pre-drilled holes in the rail) and into the window. This will help keep the unit from moving from side to side.
Step 7: Slide Out the Side Panels. Slide each attached side panel out to cover the remaining openings in the window on either side of the air conditioner. Use the included hardware to secure the slides in place.
Step 8: Plug in the Unit. Now that installation is complete, all that’s left to do is plug in the unit and enjoy the cool air. If using a previously used unit, remove the filter and clean and dry it before turning on the unit.
Maintaining a Window Air Conditioner
Keeping the air filter clean is the primary way to ensure your air conditioner performs well season after season. Most modern units will alert you when it’s time to clean the filter, but make it a regular habit to check the filter if this isn’t the case. Follow your specific unit’s instructions for proper cleaning practices.

