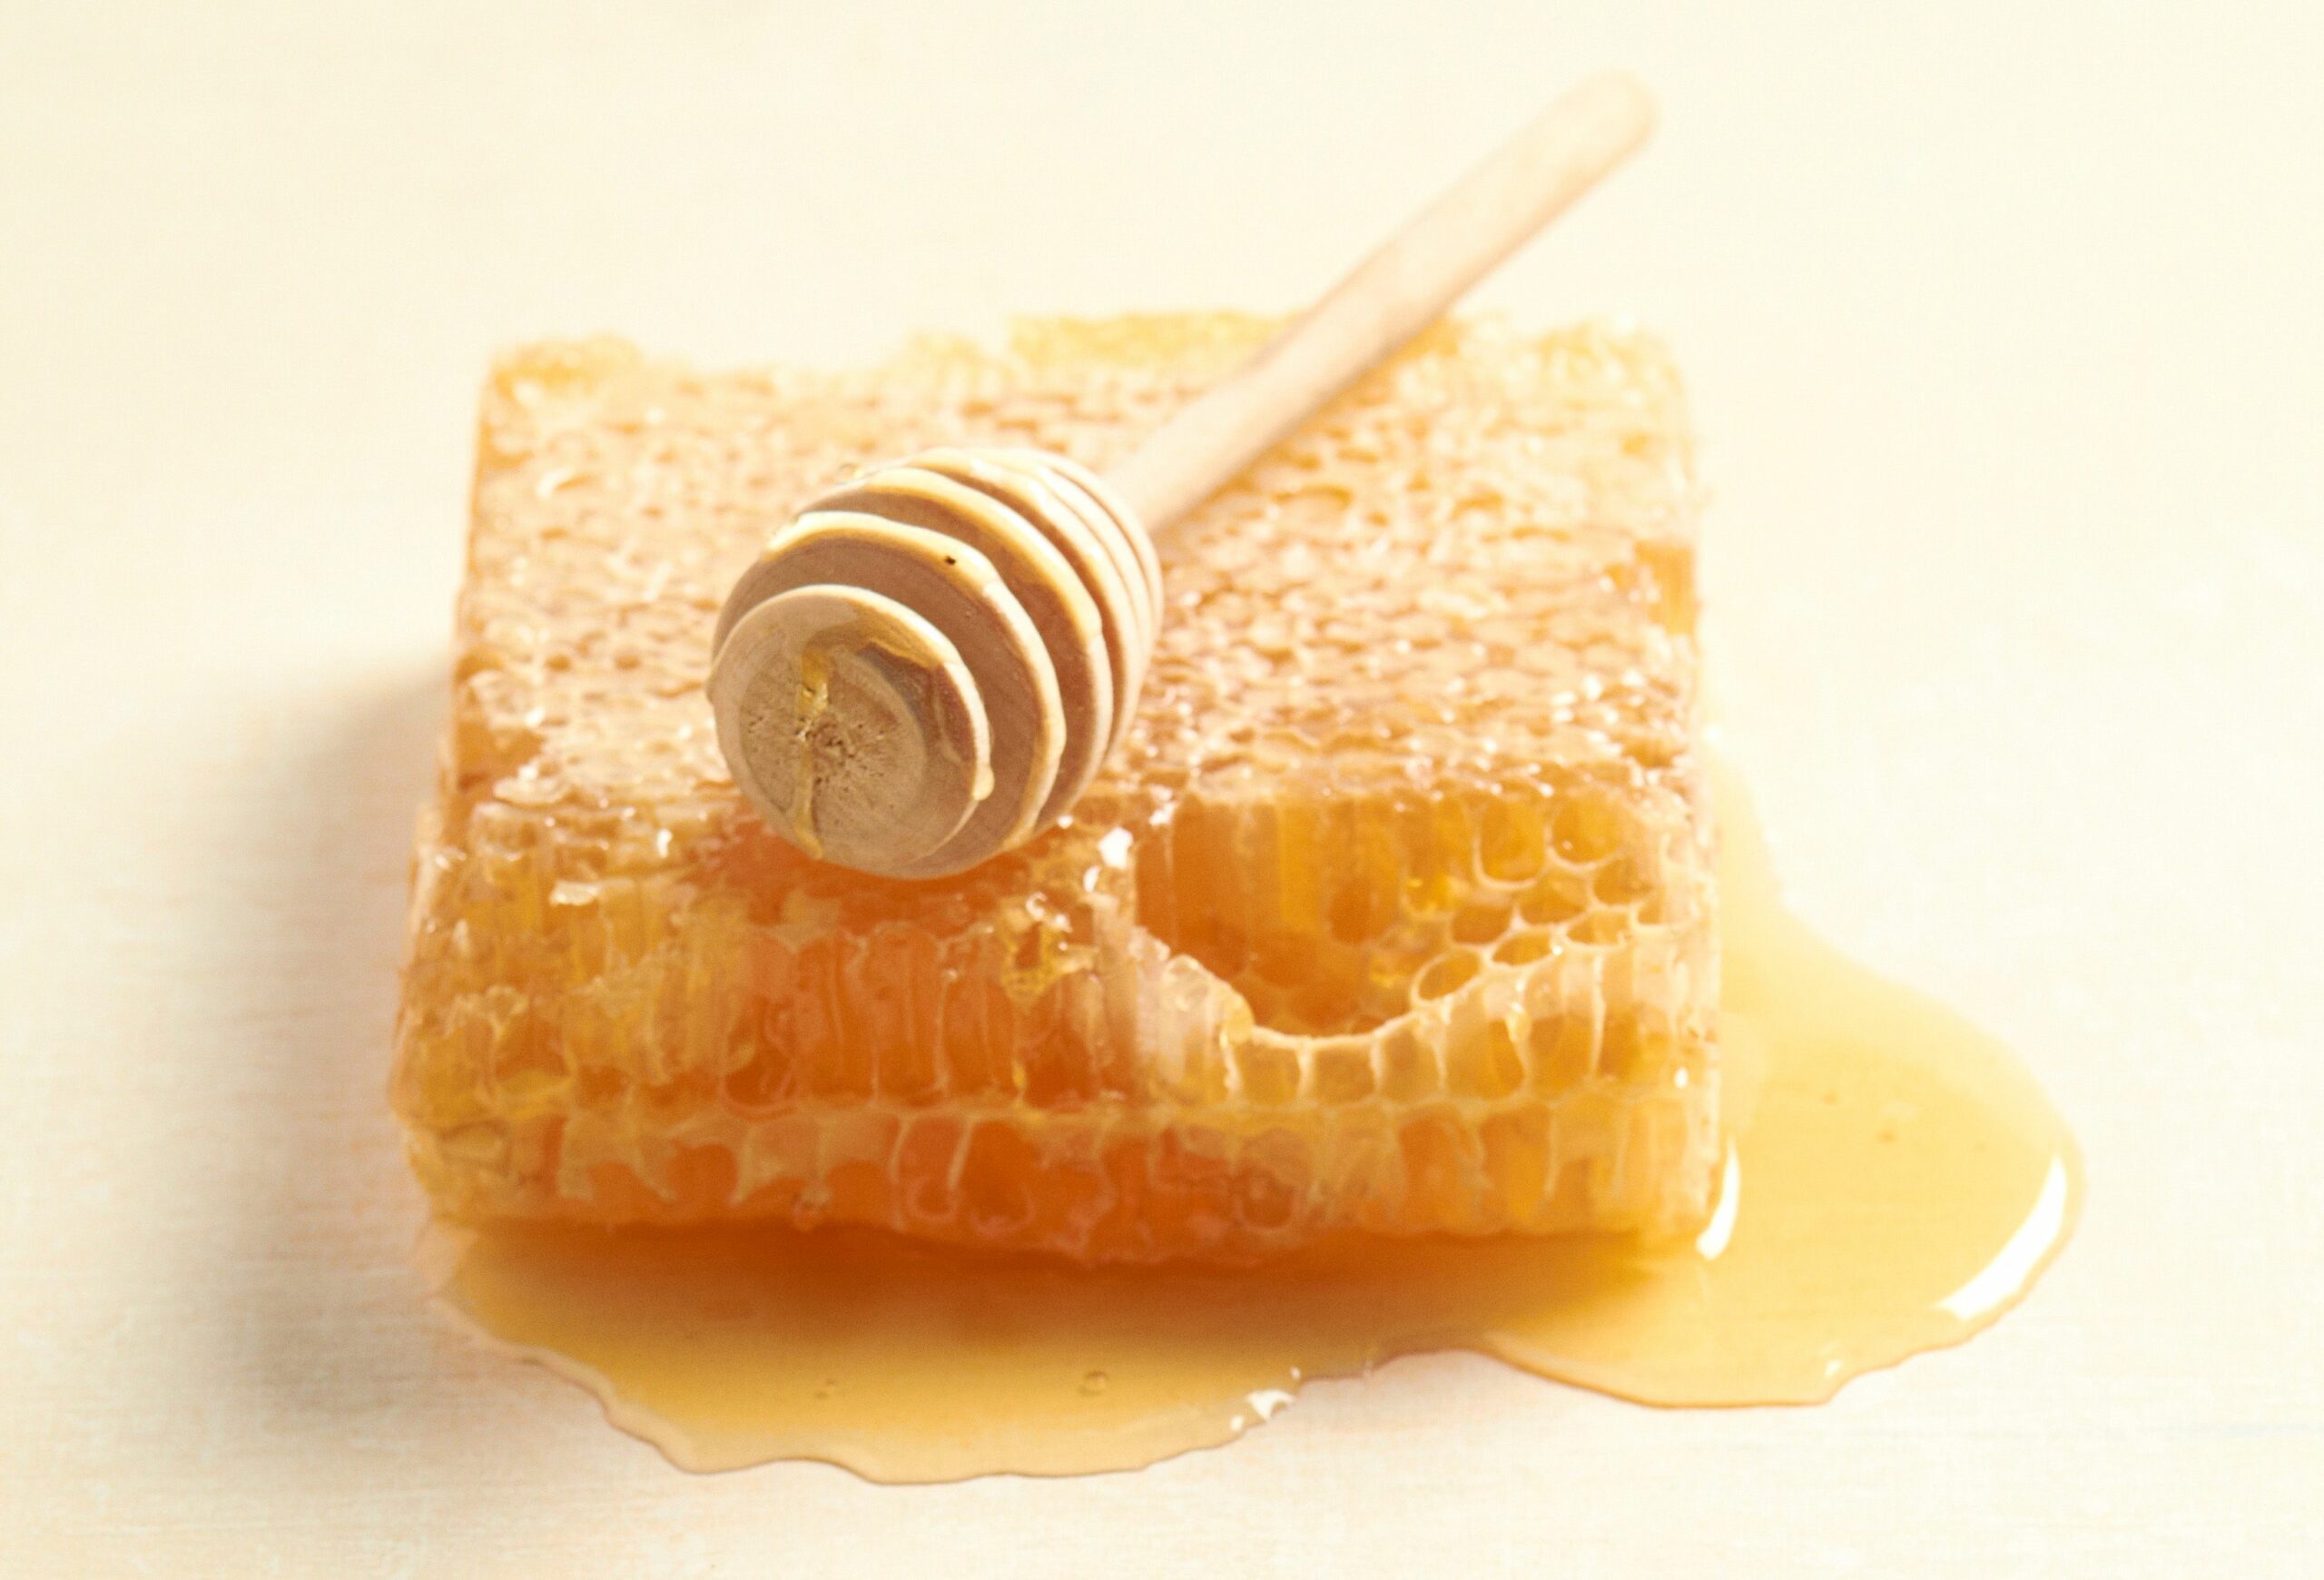
While honey might taste better, the other product bees produce—beeswax—is just as useful. Beeswax is an extremely versatile substance because it is hydrating, durable, and insoluble in water. Because of these characteristics, beeswax is used in many commercial products ranging from beauty to home and cleaning products. Keep reading to learn ways you can use beeswax around your home.
1. Season Cast Iron Pans
Cast iron pans require seasoning in order to protect the pan and produce the best-tasting dishes. Seasoning a pan includes treating it with a layer of oil or fat to create a natural, non-stick coating that adds flavor to the prepared food. Instead of using oil or fat the next time you season your pan, consider using beeswax. Not only is beeswax a natural and eco-friendly option, but it also creates a smooth, non-stick surface that is safe to ingest and doesn’t need to be frequently reapplied.
2. Quiet Squeaky Hinges
Beeswax is a natural lubricant, making it a great option to quiet squeaky doors. First, remove the pins from the door hinges, then grease them with melted beeswax. Once the beeswax has hardened, replace the hinges and test the door to see if it still squeaks. If so, repeat this process to create layers of beeswax on the pins.
3. Prevent Rust
Melt beeswax and apply it to metal garden tools like trowels and shovels to prevent rusting. Use a brush to apply the wax to create an even layer on the tool. The beeswax will create a water-resistant coating, acting as a sealant from the outside elements. Use this same technique to prevent rust buildup on screws and nails.
John Granen
4. Condition Cutting Boards
Similar to cast iron pans, wood cutting boards require special care to ensure they don’t lose their moisture and warp or crack over time. After washing your wooden cutting board with warm water and dish soap and drying it completely, use a cloth to apply beeswax to the board to properly seal and condition it. Follow with light buffing using a soft cloth. Use beeswax to also condition other wooden kitchen items like spoons and bowls.
5. Polish Furniture
Because beeswax is water-resistant, it makes a great all-natural furniture polish and sealant. To make your own furniture polish, mix melted beeswax with plant-based oil, like coconut or jojoba oil, in a 4:1 ratio of oil to wax. Pour the mixture into a jar and let harden. Buff the polish onto wooden furniture with a soft cloth.
6. Craft Candles
Beeswax is commonly used in crafting. Make your own candles by melting down the wax and adding essential oils. You can also add dye to make the candles different colors. Pour the melted wax into a jar with a wick and let harden before burning.
7. Waterproof Shoes and Boots
Use beeswax to protect your shoes from snow and rain. Rub warmed beeswax onto a clean shoe with your hands or a soft cloth, paying special attention to seams and creases. When the beeswax cools, it will form a hard, waterproof barrier on the outside of your shoe.
8. Make Natural Soap
Beeswax is very hydrating, so it is a great ingredient to include in in homemade lip balms, moisturizers, and soaps. Combine melted beeswax with an assortment of oils, such as palm oil, avocado oil, and sunflower oil, scented essential oils, water, and lye. You can also add cocoa butter or honey to add more hydration and scent.
Adam Albright
9. Polish Copper Pots
Protect your copper and bronze pots and pans from oxidization (which causes rust) by applying a layer of beeswax. Apply softened beeswax to the outside of a clean pot or pan using a cloth. Allow the beeswax to harden, and wipe off the excess wax with a cloth.
10. Waterproof Leather
Don’t forget about your leather items when prepping your shoes for a snowy winter or rainy spring. Similar to waterproofing other types of shoes, apply a layer of softened beeswax to clean leather shoes. To seal the protective beeswax layer, apply heat using a hairdryer (make sure to hold the hairdryer at a distance from the shoe). Once finished, wipe any excess wax from the shoe with a towel.
11. Reusable Food Wraps
Save money and reduce waste by making DIY food wraps to wrap your lunch in or cover bowls of leftovers. All you need to do is sprinkle beeswax pellets on top of a piece of fabric and melt the pellets in the oven for 4-8 minutes. Once melted, use a brush to evenly distribute wax onto the fabric. Let dry, and use to pack your lunch.
12. Use as a Fire Starter
DIY your own fire starters for the next time you use your fireplace or go camping. Just melt beeswax, pour into silicone molds, add wicks, and let harden. Add dried florals and herbs, small pinecones, and cinnamon sticks to produce a sweet scent when burned.
13. DIY Air Freshener
You can also make homemade beeswax air fresheners. Add essential oils and dried herbs and flowers to melted beeswax in a silicone mold. Once hardened, poke a hole near the top of the air freshener with a hot skewer or metal rod. String a piece of twine through the hole, hang the air freshener around your home, or give it as a gift.
Kelsey Hansen
14. Preserve Leaves
Preserve autumn leaves by dipping them into melted beeswax. The coating preserves the leaves’ bright colors and makes them easier to handle and craft with. DIY a fall garland or sprinkle the leaves down the center of your table for a simple, autumn centerpiece.
15. Craft Christmas Ornaments
Craft Christmas ornaments using melted beeswax and silicone molds. Pour the melted wax into molds the shape of snowflakes, stockings, stars, or other holiday shapes. Dye the wax with food coloring or sprinkle in dried leaves and flowers to add color. Make sure to add a loop of twine or ribbon to the ornament before it completely hardens to hang it from your tree.


