How to Clean Air Ducts
-
Remove the Air Duct Covers
Turn off the HVAC system at the thermostat or shut off the circuit breaker to prevent loose dirt and debris from being blown into the home. Once the system is off, remove the supply and return vent grilles. Some grilles may be secured with screws, so you need a screwdriver or drill to remove the screws before taking off the air duct covers.
-
Clean the Supply and Return Grilles
Scrub the supply and return grilles with warm water and dish soap. Use a soft nylon brush to remove any dirt or debris stuck to the grilles. This job can be completed in the kitchen sink, laundry sink, or outdoors with a hose or bucket if the indoor sinks are not large enough for the return grilles. After washing the grilles, set them aside to dry.
-
Inspect the Air Ducts
Attach the duct-cleaning brush to the extension pole and head to the nearest duct. With a flashlight, check inside the air duct to determine how much space is inside and in which direction the duct runs. Some ducts may have a tee, allowing them to split off in different directions. Knowing the size and orientation of the duct helps when directing the cleaning brush into the duct.
-
Loosen Air Duct Debris
Carefully thread the cleaning brush and extension pole into the duct, following the direction of the air duct until only about 1 foot of the extension pole remains outside the duct. Connect the pole to a drill and push the drill trigger to rotate the cleaning brush forward. If your extension pole cannot connect to a drill, use your hands to rotate the cleaning brush.
While turning the cleaning brush, slowly draw the extension pole back out of the air duct to dislodge any dust or debris that may be stuck to the inside of the duct. Once the cleaning brush reaches the opening of the duct, stop the drill or manual rotation.
Reroute the brush to the opposite side of the duct if it has a tee. Repeat this process with each duct throughout the home.
If the duct has a tee, avoid operating the drill in reverse, as this could cause the cleaning brush to detach inside the duct.
-
Clean the Air Duct
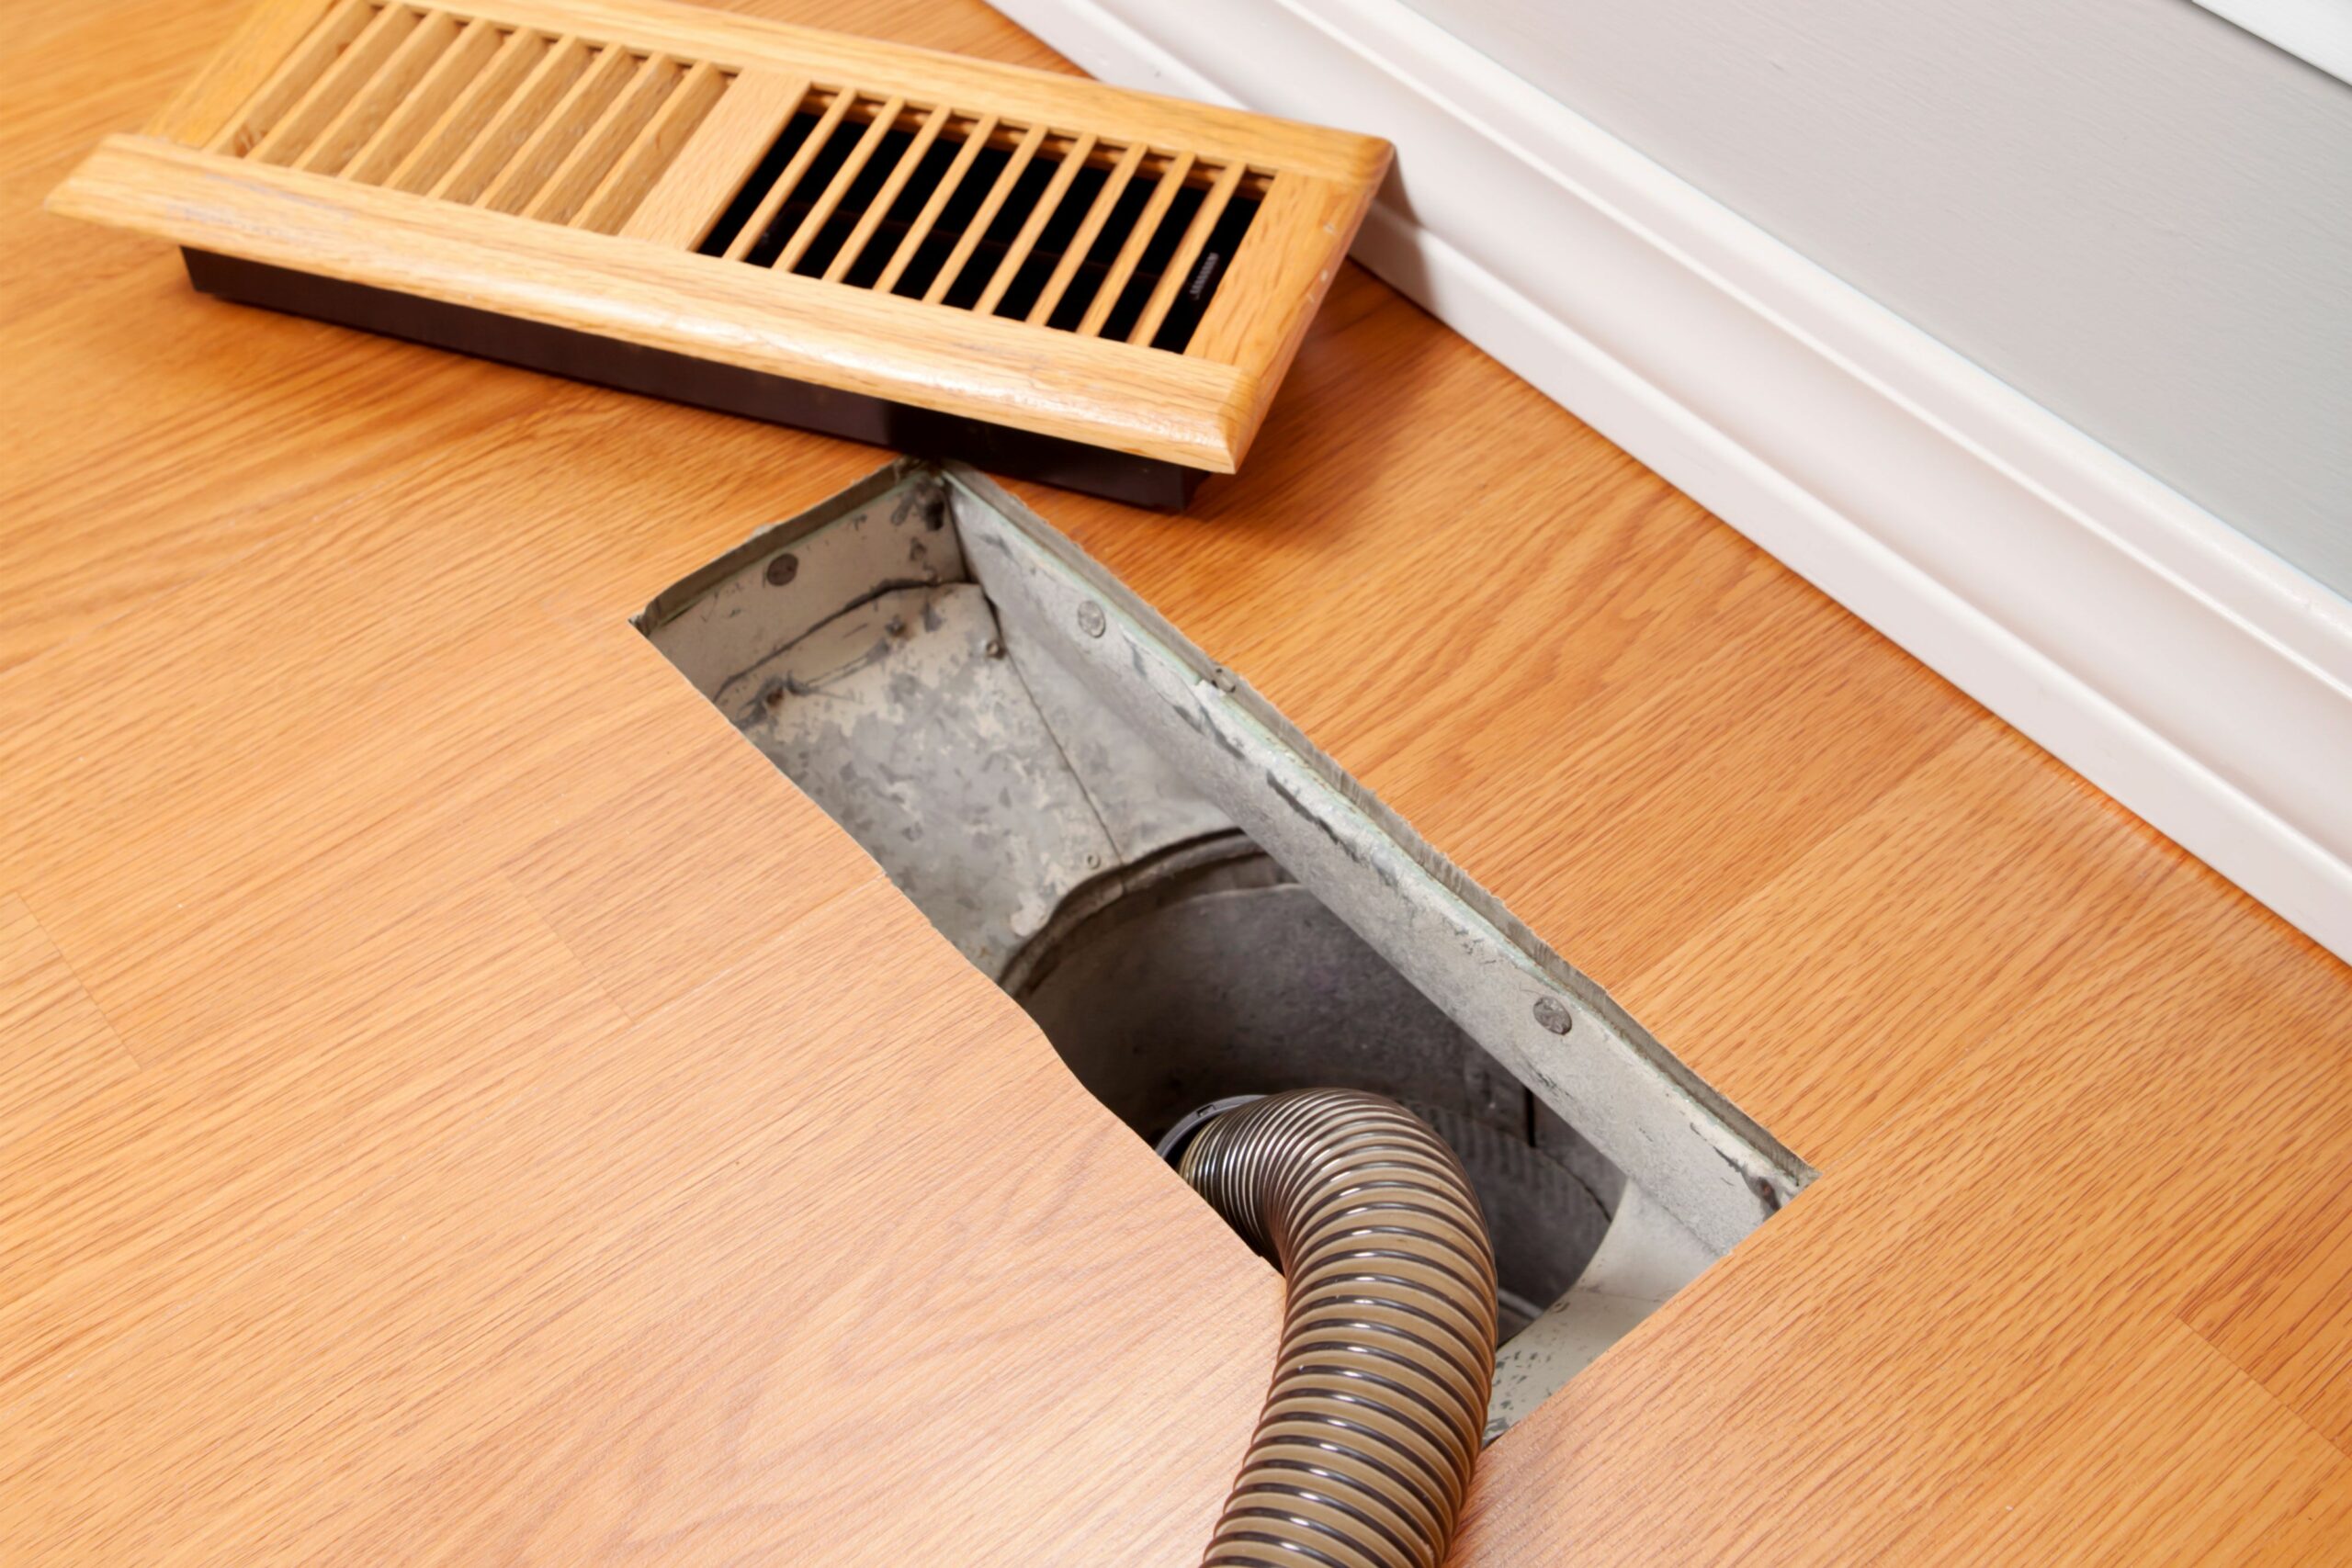
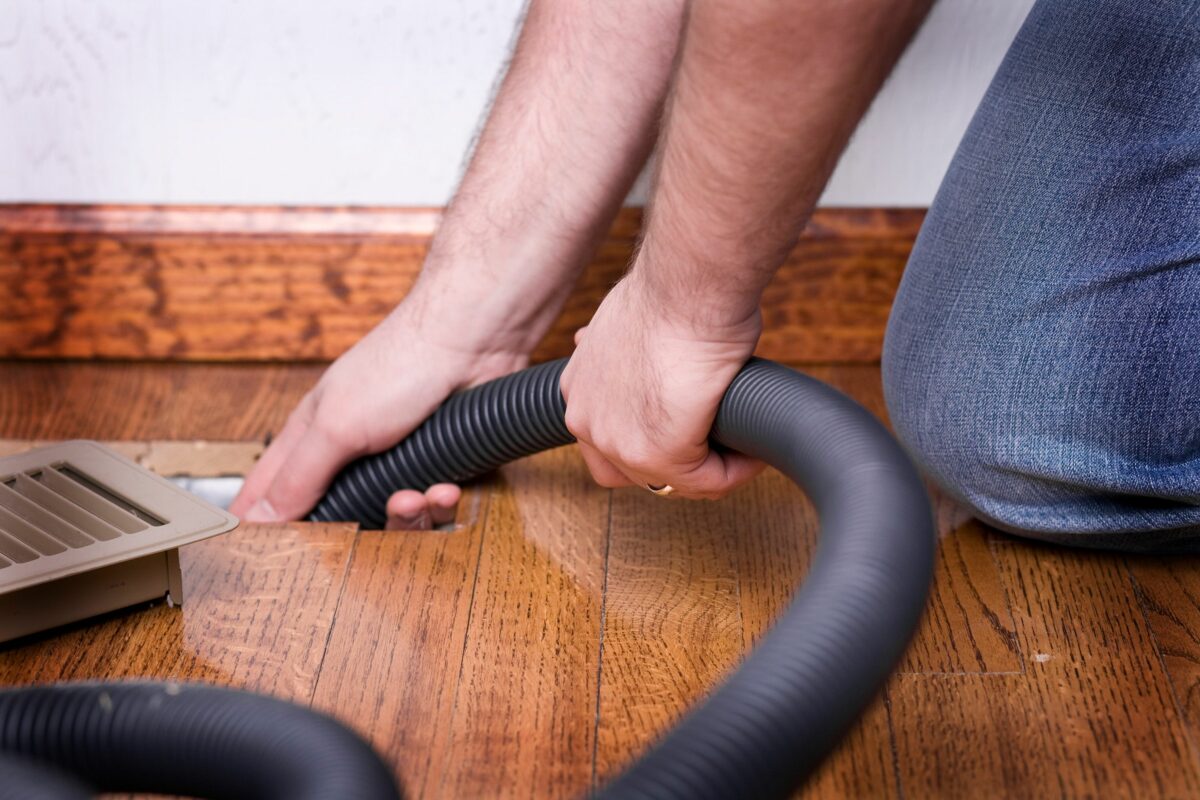
Use the shop vac to suck up any dust and debris the cleaning brush pulls out of the duct. Then, attach the extension hose to the shop vac and insert it into the duct.
If you use a nozzle on the end of the hose, attach it with duct tape to prevent the nozzle from falling off inside the duct.
With the vacuum hose inside the duct, turn on the shop vacuum. Gradually pull the hose back out of the duct, moving it back and forth as you pull to clean as much of the duct as possible. Go slow and work carefully to ensure the shop vac can collect any lingering debris. Repeat this process with each duct throughout the home.
-
Turn On the HVAC System
After scrubbing and vacuuming each duct, reinstall the supply and return grilles. Turn on the HVAC system and let it run for 20 to 30 minutes before turning it off again. This quick operating cycle will trap any remaining loose debris in the filter. Finish the job by replacing the filter. Then, turn the HVAC system back on.
When Should You Clean the Air Ducts?
Duct cleaning isn’t a task that needs to be completed with any type of regularity. Instead, duct cleaning is only necessary in certain circumstances, such as when there is visible mold growth inside the ducts or other components of the HVAC system.
If the ducts seem infested with insects, rodents, or other pests, they should be cleaned and might need to be treated by a professional exterminator to eliminate an infestation. Additionally, if they are clogged with an excessive amount of debris or you have seen dust and other debris blown through the supply registers, it’s a good idea to clean the air ducts.
DIY duct cleaning is relatively straightforward and can save the homeowner several hundred dollars in maintenance costs. However, it’s important to note that a complete HVAC system inspection and cleaning should take place every two to three years. Between these appointments, homeowners can handle duct cleaning, filter replacement, and semi-regular system inspections.
DIY vs. Professional Air Duct Cleaning
When your home’s ducts need to be cleaned, DIYers can typically handle this work without problems. Given that professional air duct cleaning can cost from $450 to $1,000, it’s more cost-effective to do it yourself unless there are any substantial concerns, like a severe pest infestation. However, some homeowners might not have the time or confidence in their skills to undertake this home maintenance task.
If this is the case, hire a crew of trained HVAC professionals to clean the air duct system. The pros will clean the ducts, inspect the HVAC components, replace the filters, and note any additional or potential problems that should be repaired to improve the system’s functionality and efficiency. Some air duct cleaning professionals may also treat the inside of the ducts with a chemical biocide to kill microbiological contaminants; this service isn’t always available, so check with the HVAC pros before starting the job.


