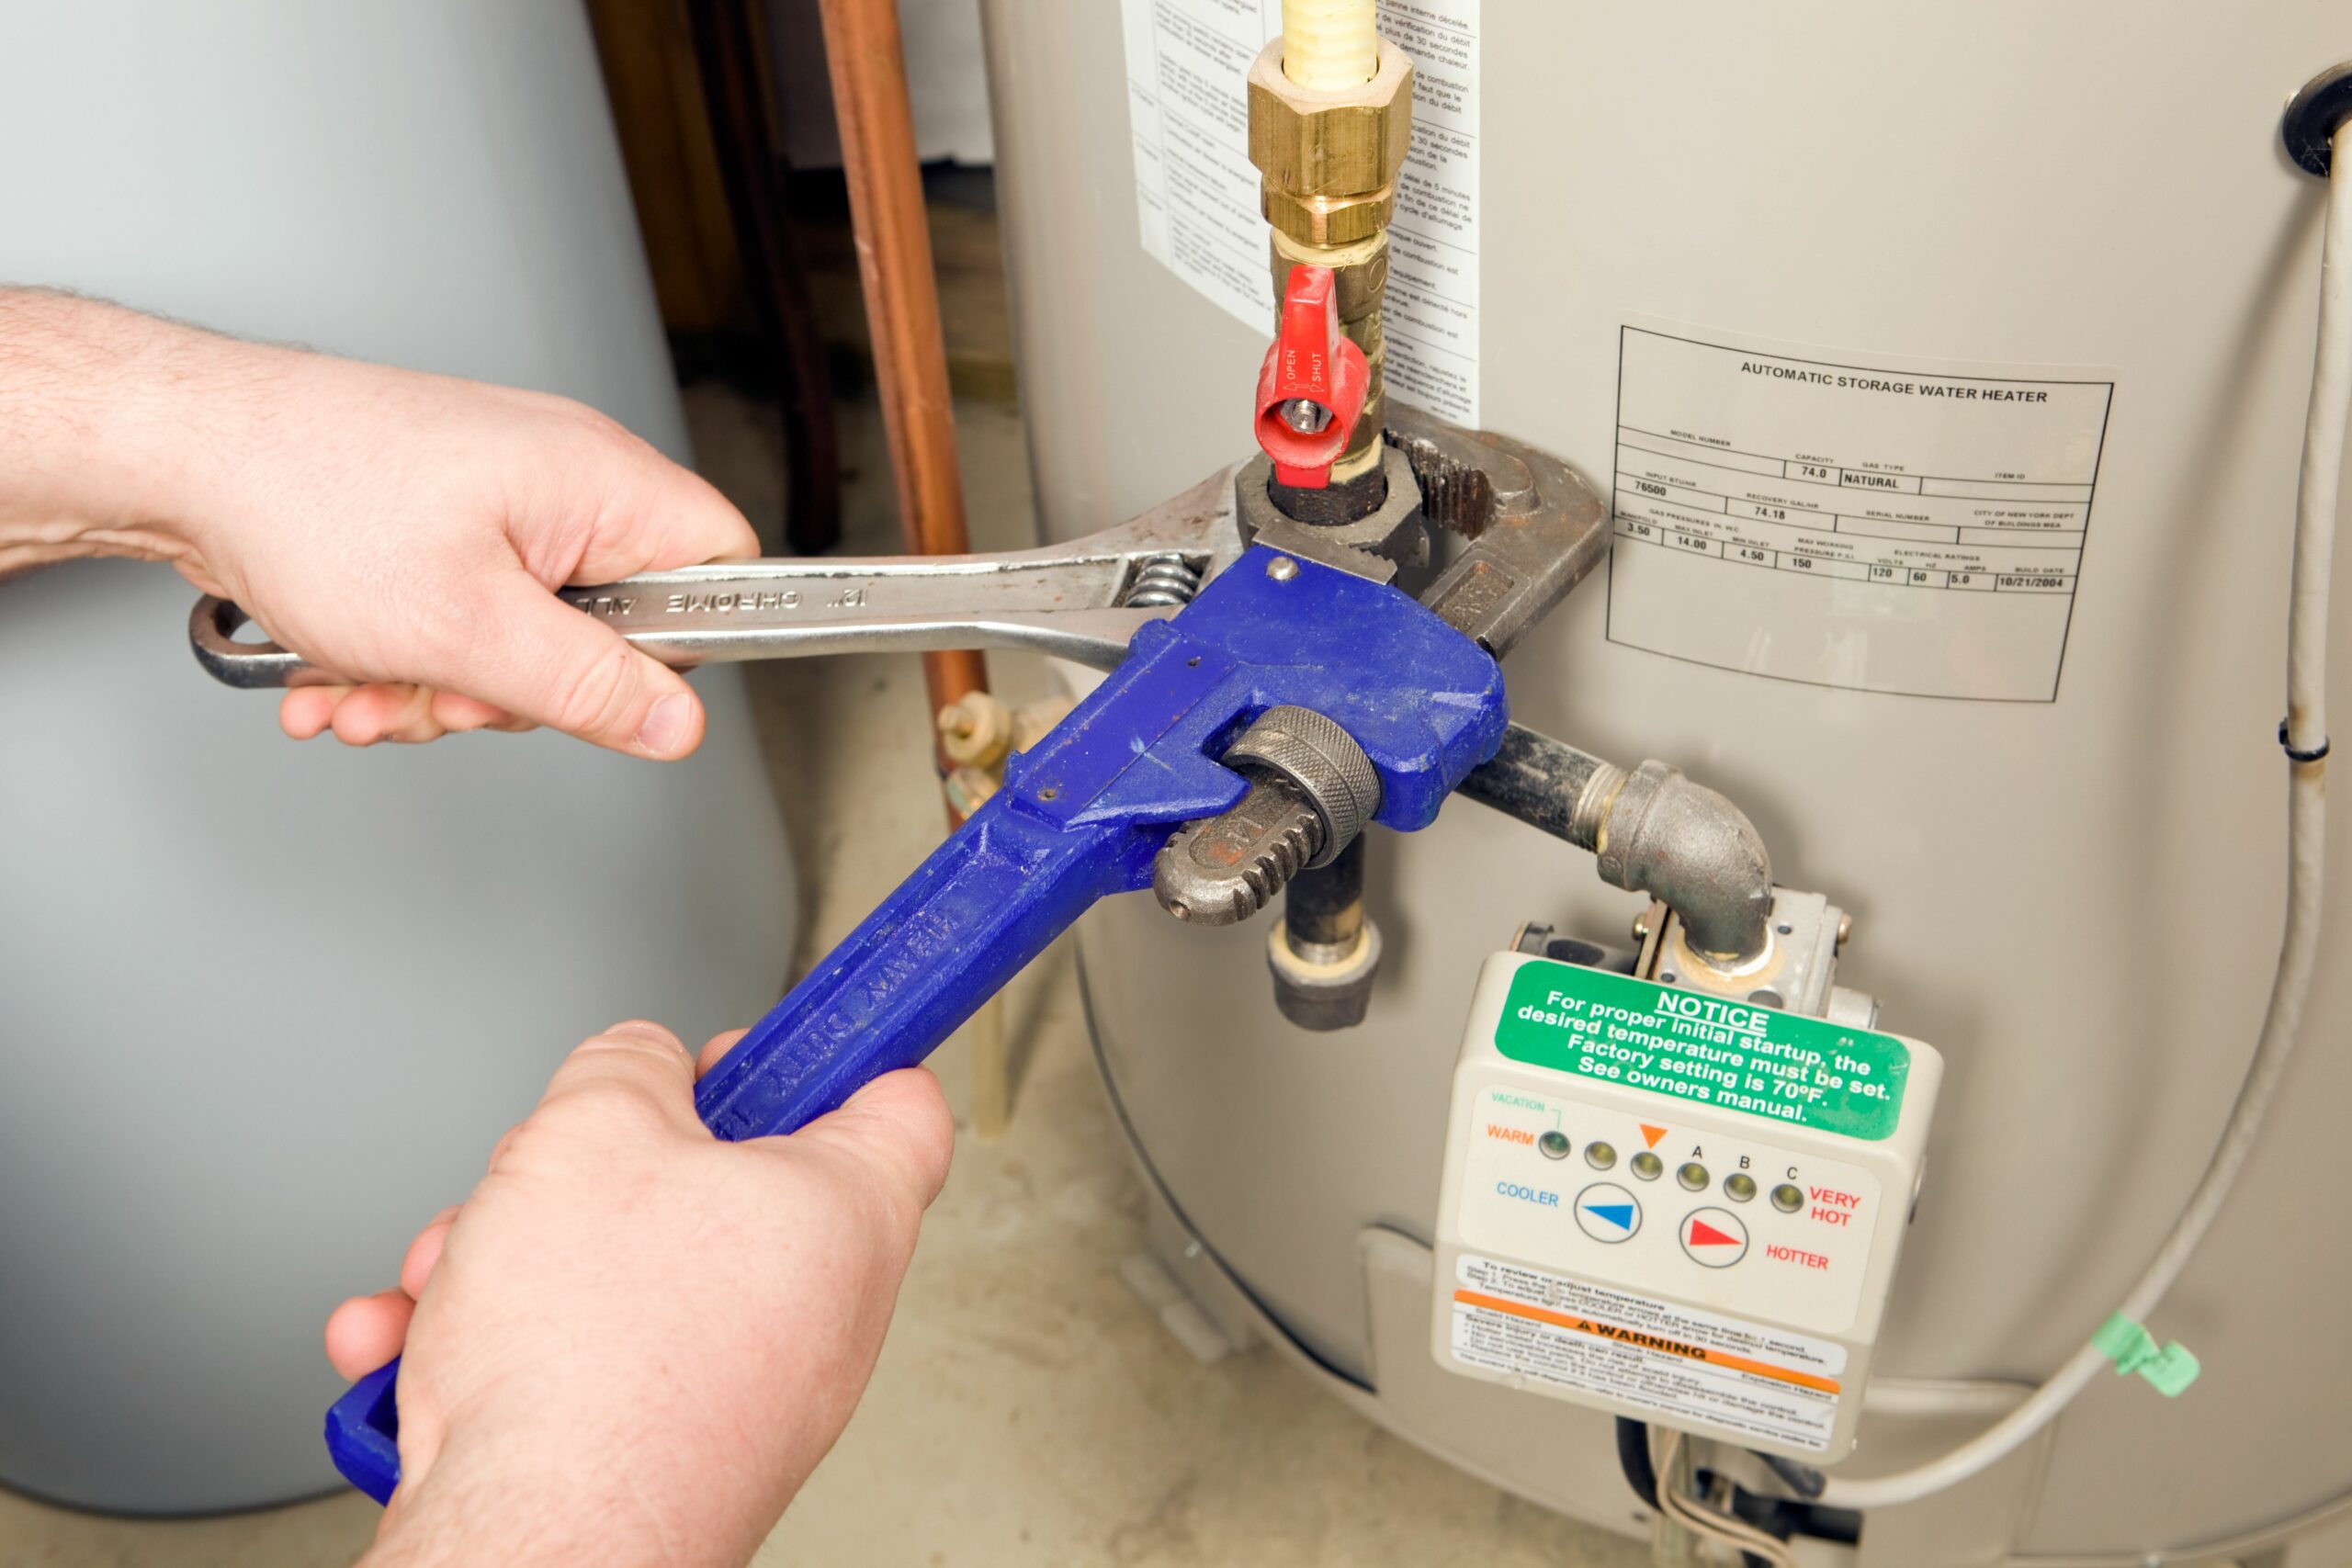
Water heaters come in several types, including gas, electric, tankless, and the standard tank style that’s common in many households. This appliance is essential for bathing, dishwashing, and laundry, so it’s important to maintain it regularly to keep it running smoothly. Follow these hot water heater maintenance tips to extend the life of the appliance and ensure your water heater keeps operating without issue.
Preventive Maintenance for a Water Heater
These maintenance tips can ultimately save time and money that would have otherwise been spent on an avoidable repair.
1. Perform General Inspections
The most basic form of hot water heater maintenance is a general inspection. Most homeowners or DIYers can perform a general inspection without professional help, although some homeowners may prefer to invest in a water heater maintenance plan that includes regular inspections.
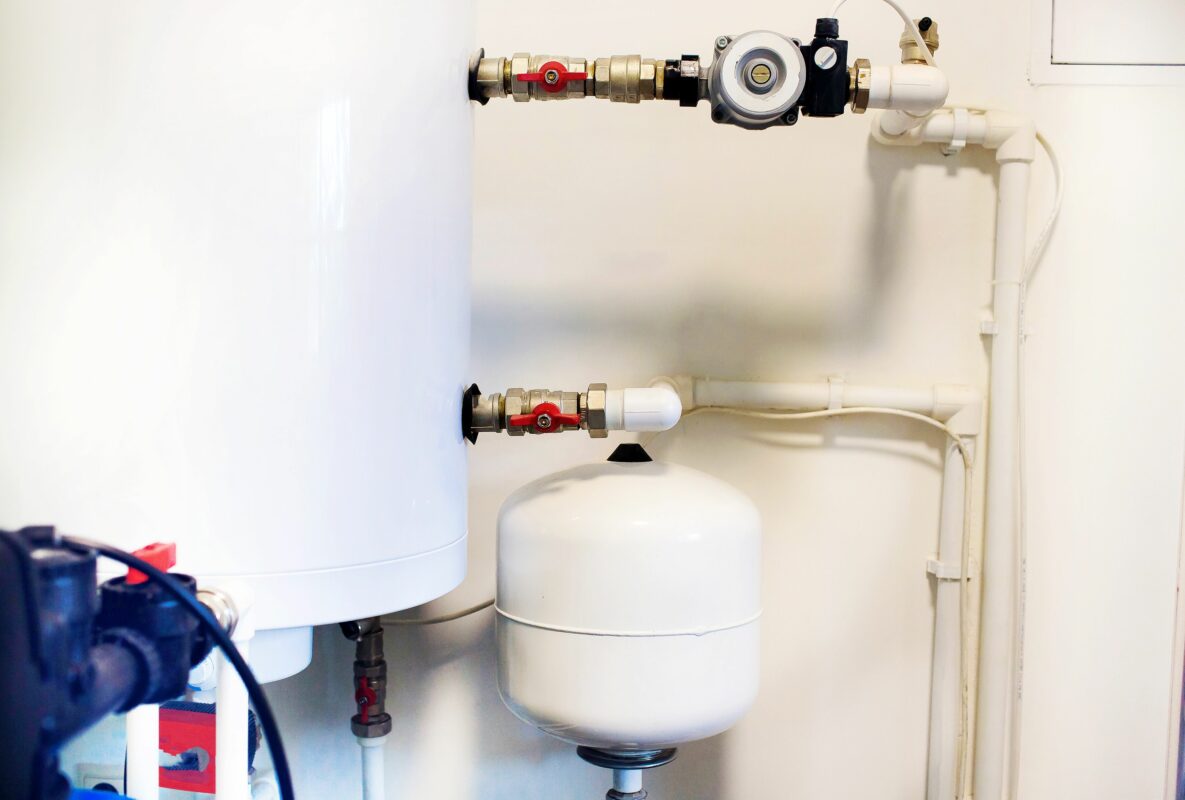
Inspect the water heater every two to three months. This routine visual inspection should include looking for any leaks in the pipes or from the bottom of the water heater, checking for aged gaskets or loose fasteners that might need to be tightened, and identifying any signs of corrosion on the water heater or the pipes.
2. Flush the Tank
Flushing the tank is an important part of keeping tank-style water heaters operating effectively. It removes any built-up sediment inside the tank, preventing it from coating the heating element and reducing the appliance’s overall efficiency.
Start by turning off the water and the gas or electricity to the water heater, and then let the water cool down over the next several hours. Some people do this step the night before, allowing the water to cool overnight. To flush the tank, connect a hose to the drain valve at the base of the tank and run the hose outside or to a suitable drainage location. Open the valve and drain the tank completely.
After draining the tank, close the drainage valve and turn on the water to the water heater. Let the tank fill up before turning on the gas or electricity; otherwise, you put unnecessary stress on the water heater and could cause problems.
3. Test the TPR Valve
The temperature pressure relief valve (TPR valve) is located on the top or the side of the tank. This part of the water heater is designed to automatically open to prevent the tank from bursting if the pressure inside gets too high. Checking a TPR valve is relatively easy.
Slide a bucket under the pipe connected to the TPR valve and lift the tab on the valve to let out some of the water. Then, release the tab to stop the flow of water. If the water keeps draining out of the TPR valve, turn off the water, drain the tank until the water level is lower than the valve, and unscrew the old valve. Install a new TPR valve.
4. Inspect the Anode Rod
An anode rod prevents corrosion inside the water heater by attracting corrosive minerals and debris frequently present in hard water. Once the anode rod corrodes completely, the inside of the tank becomes the target for these corrosive elements.
Turn off the water and drain a few gallons out of the tank before checking the anode rod. To access the rod, use a socket wrench on the anode rod hex head located on top of the water heater or under the top plate. Unscrew the anode rod and pull it out of the water heater to inspect its current condition. If it’s less than 1/2-inch thick, it’s a good idea to replace it; otherwise, reinstall it and recheck it at a future date.
5. Insulate the Tank
Tank-style water heaters are designed with an insulated exterior to prevent heat from escaping. However, some homeowners use water heater blankets to further insulate the tank and increase the appliance’s overall efficiency, leading to reduced energy bills. Adding this layer of insulation is especially important if the appliance is installed in a cool or drafty location.
Similarly, homeowners should take steps to insulate the water lines leading to and away from the water heater. This helps improve the system’s overall efficiency and reduces the risk of condensation and corrosion.
6. Adjust the Temperature
A water heater continuously heats the water inside the tank or flowing through the tank to the set temperature. However, many water heaters are set higher than necessary, forcing them to work harder to heat the water to a higher temperature. Homeowners can improve the efficiency of the system and avoid being scalded in the shower by lowering the temperature to about 120° F.
If you are going on vacation or will be away from home for more than three days, either set the water heater to vacation mode, if this option is available, or manually lower the temperature to the lowest setting on the thermostat. Readjust the temperature when you return home.
7. Check the Ventilation System
Gas hot water heaters have a ventilation system to allow the exhaust to escape the home. Part of maintaining the water heater is inspecting the ventilation system to ensure there is ample clearance around the vent pipe. Additionally, homeowners should check for any signs of wear or damage and inspect the vent connections to verify they are properly sealed. If you see any signs that could indicate a problem, call a gas water heater technician to assess and repair the issue.
8. Clean or Replace the Filters
Tank-style water heaters receive a lot of attention because they are the most common type of water heater used in residential homes. However, tankless water heaters are growing in popularity, and they require specific maintenance tasks that don’t apply to tank-style heaters.
While this isn’t the case for every tankless water heater, some models have a built-in water filter that needs to be cleaned or replaced regularly. Similarly, some gas tankless water heaters have an air filter installed between the air intake pipe and the fan. When this air filter is dirty, it needs to be cleaned or replaced to ensure the ongoing functionality of the system.


